WARNING
Heads-up: Setting up the Flutter toolchain is notoriously unfriendly to developers inside mainland China. If you cannot hop the Great Firewall, you may want to stop here.
Preface
If, like me, you have never touched mobile development—no Java, no SwiftUI, no Uniapp, no React Native, no Flutter—then this walkthrough is tailor-made for you. Let’s push open the door to a brand-new world together.
Before installing Flutter, make sure you already have a Java environment in place.
Windows
Use Domestic Mirrors
Add the following key-value pairs to your system environment variables:
PUB_HOSTED_URL = https://pub.flutter-io.cn
FLUTTER_STORAGE_BASE_URL = https://storage.flutter-io.cnDownload the Flutter SDK
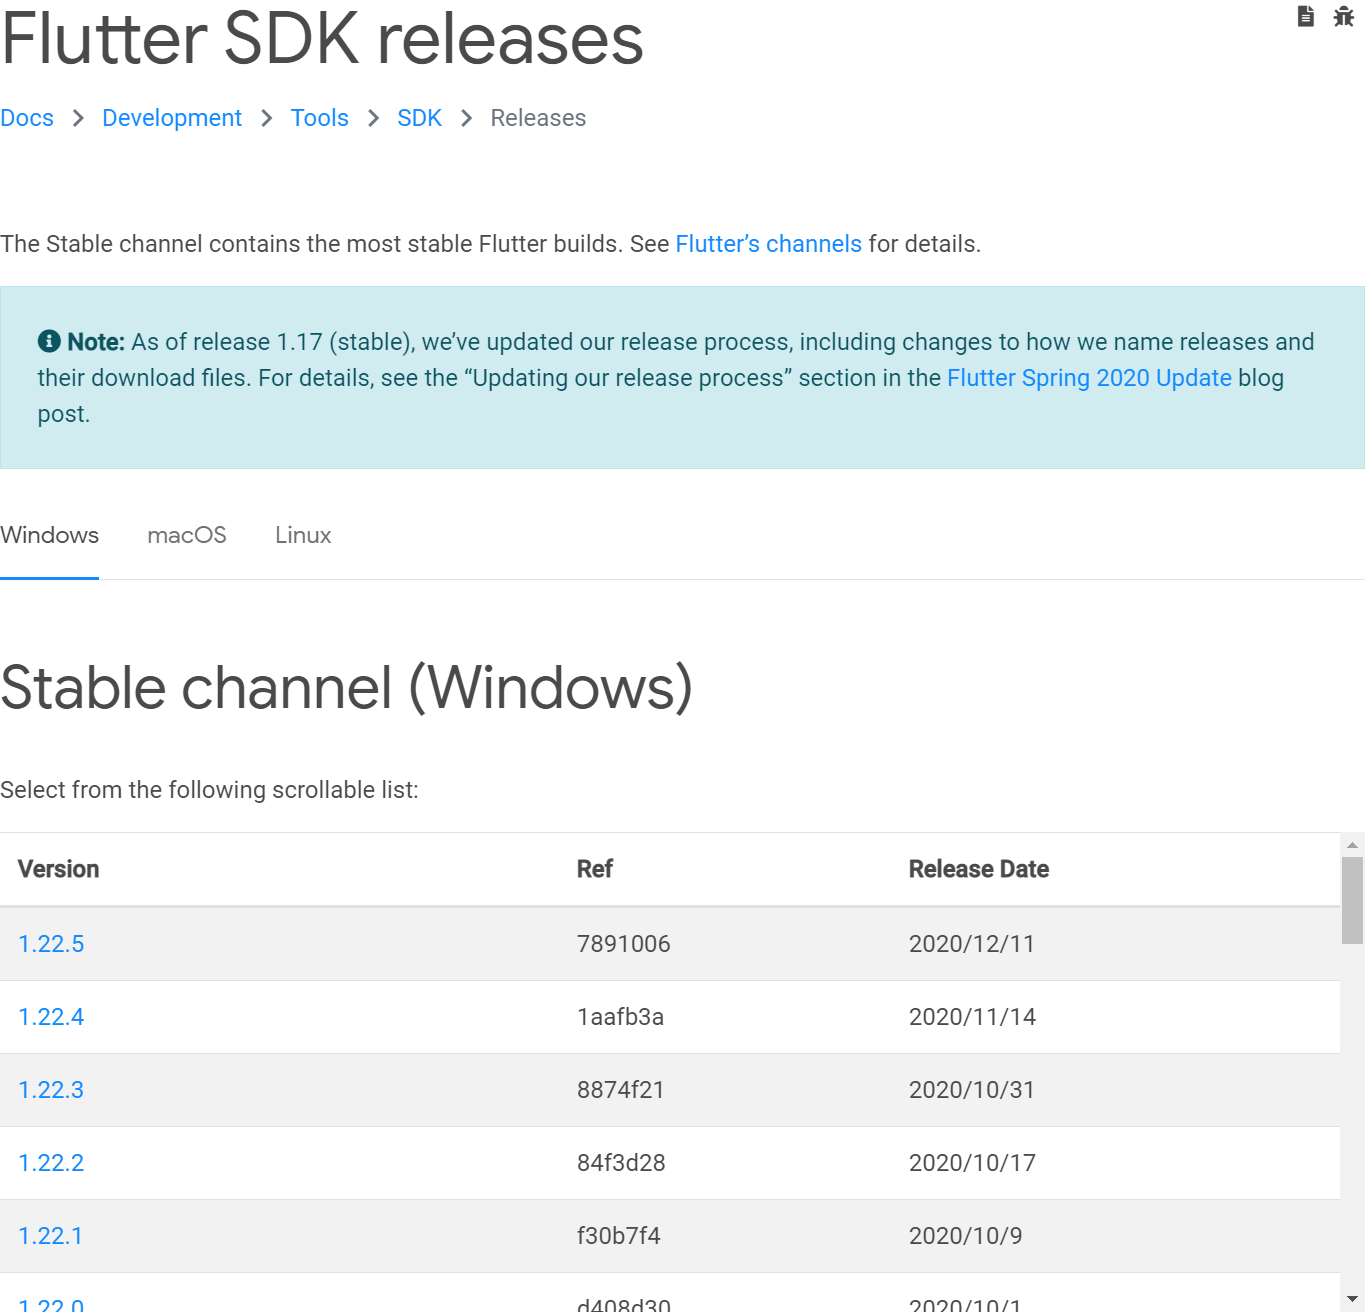
Go to the official SDK releases page and pick the build that matches your OS and tooling preferences.
Extract the downloaded
zipfile to the directory where you plan to install Flutter. Avoid locations that require elevated permissions (for exampleC:\Program Files\).Add the
bindirectory inside the SDK to your environment variables.
Run flutter doctor
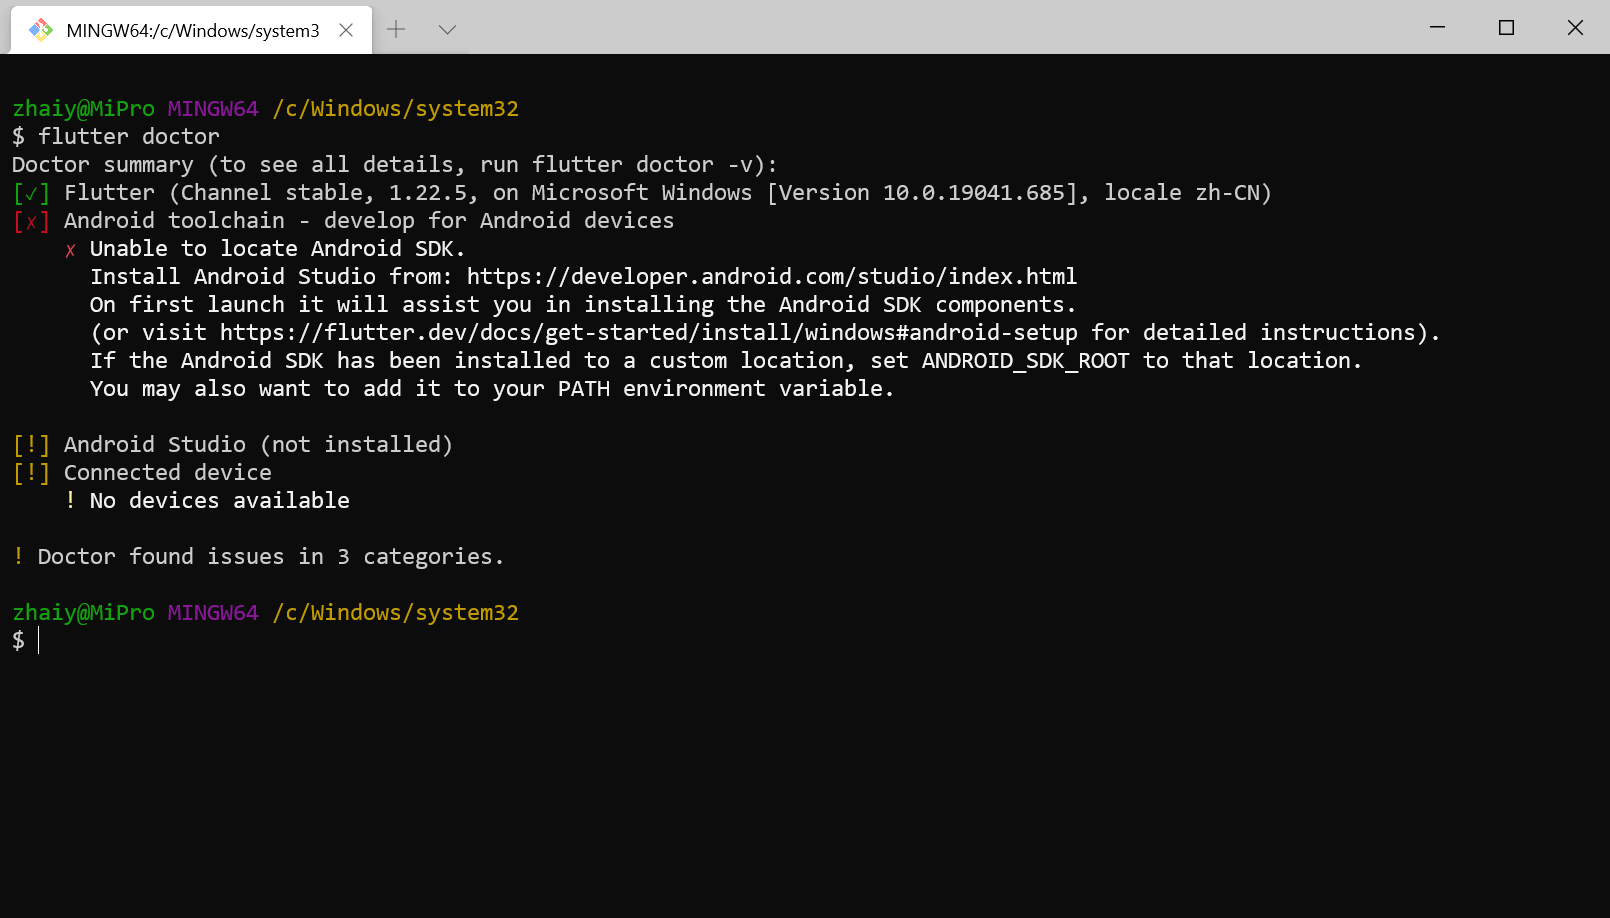
Open a terminal and run flutter doctor. If you have not yet installed the Android toolchain, you should see output similar to the following:
Next, run flutter doctor --android-licenses to accept the Android licenses.
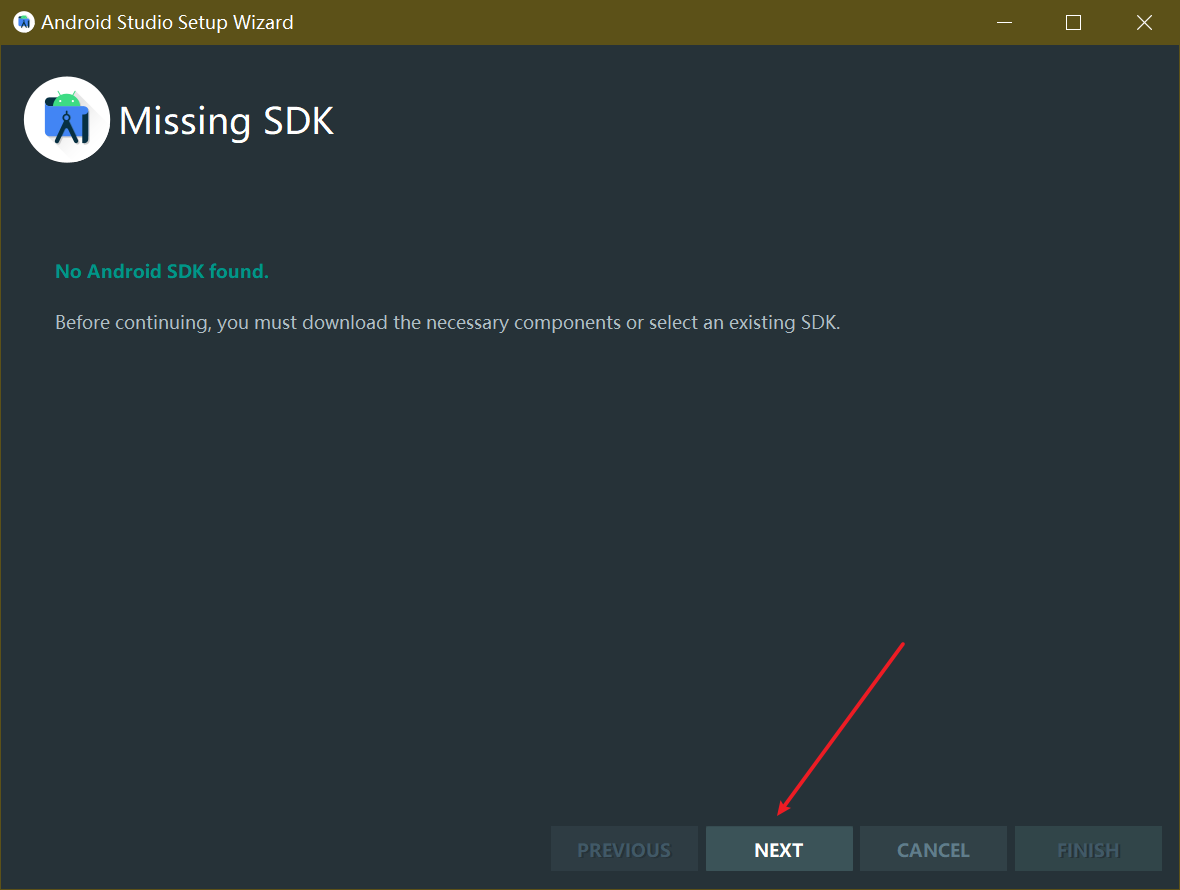
The message is quite explicit: Android SDK not found, Android Studio not installed, no available emulator. Fortunately, installing Android Studio will take care of all three issues.
Install Android Studio
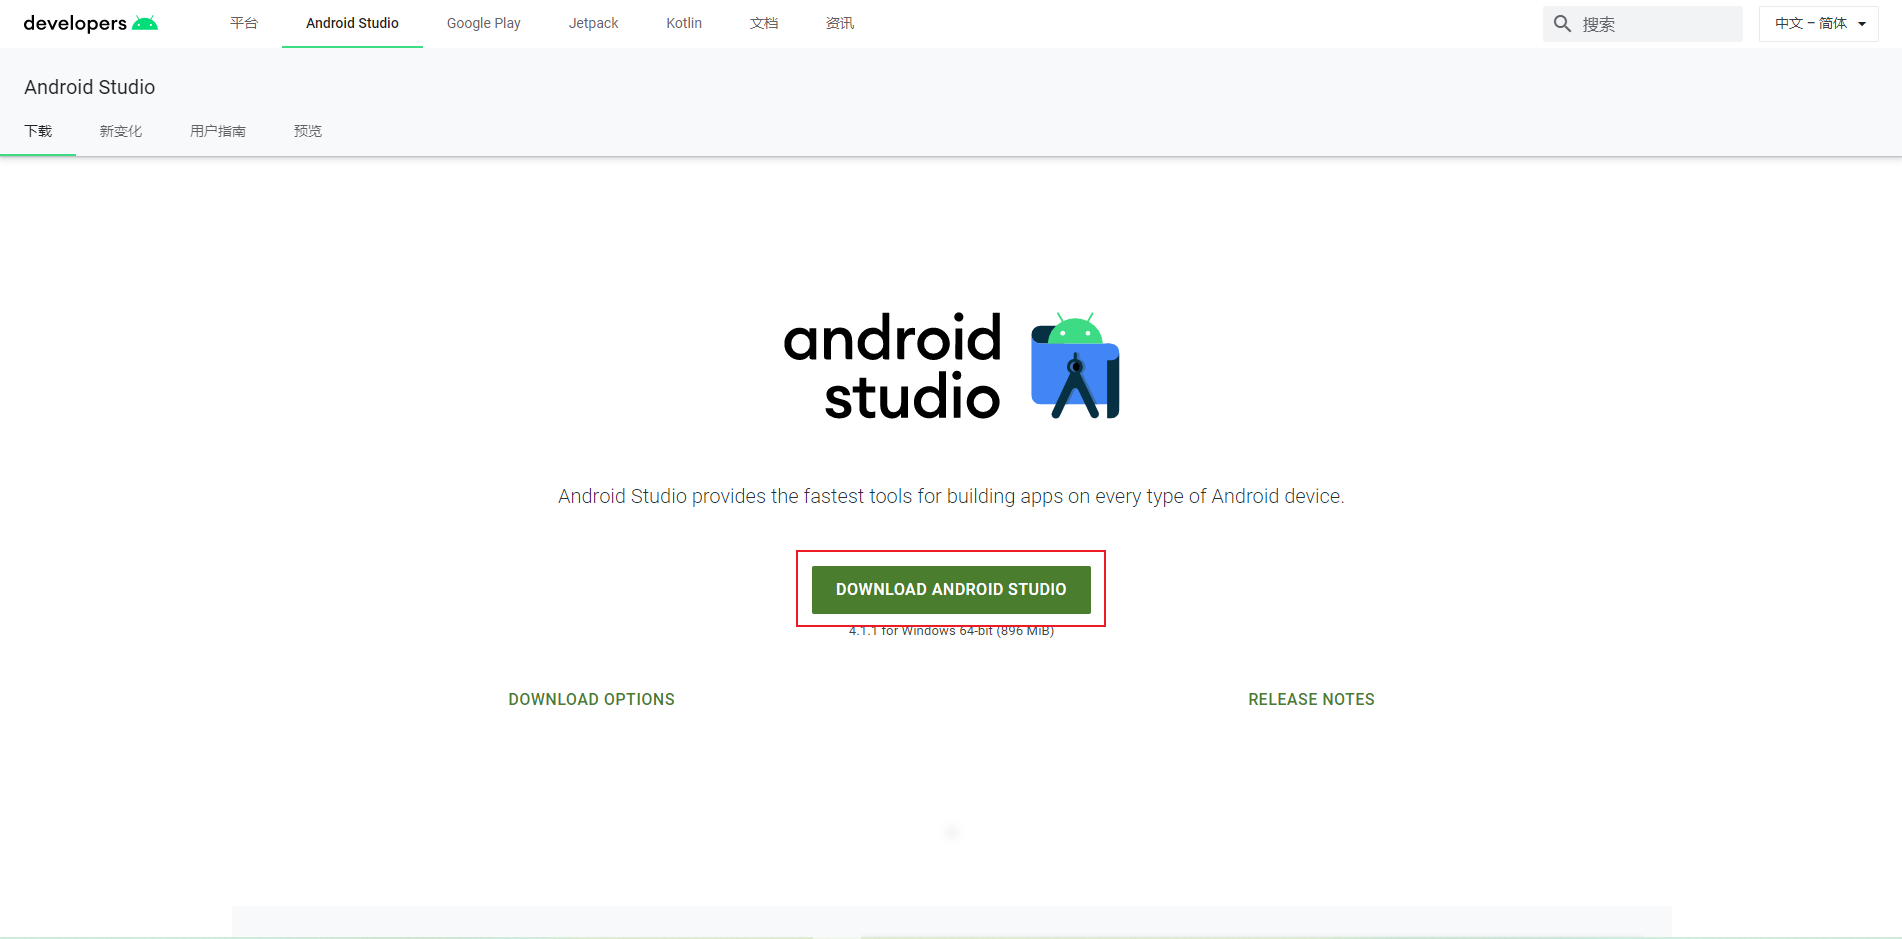
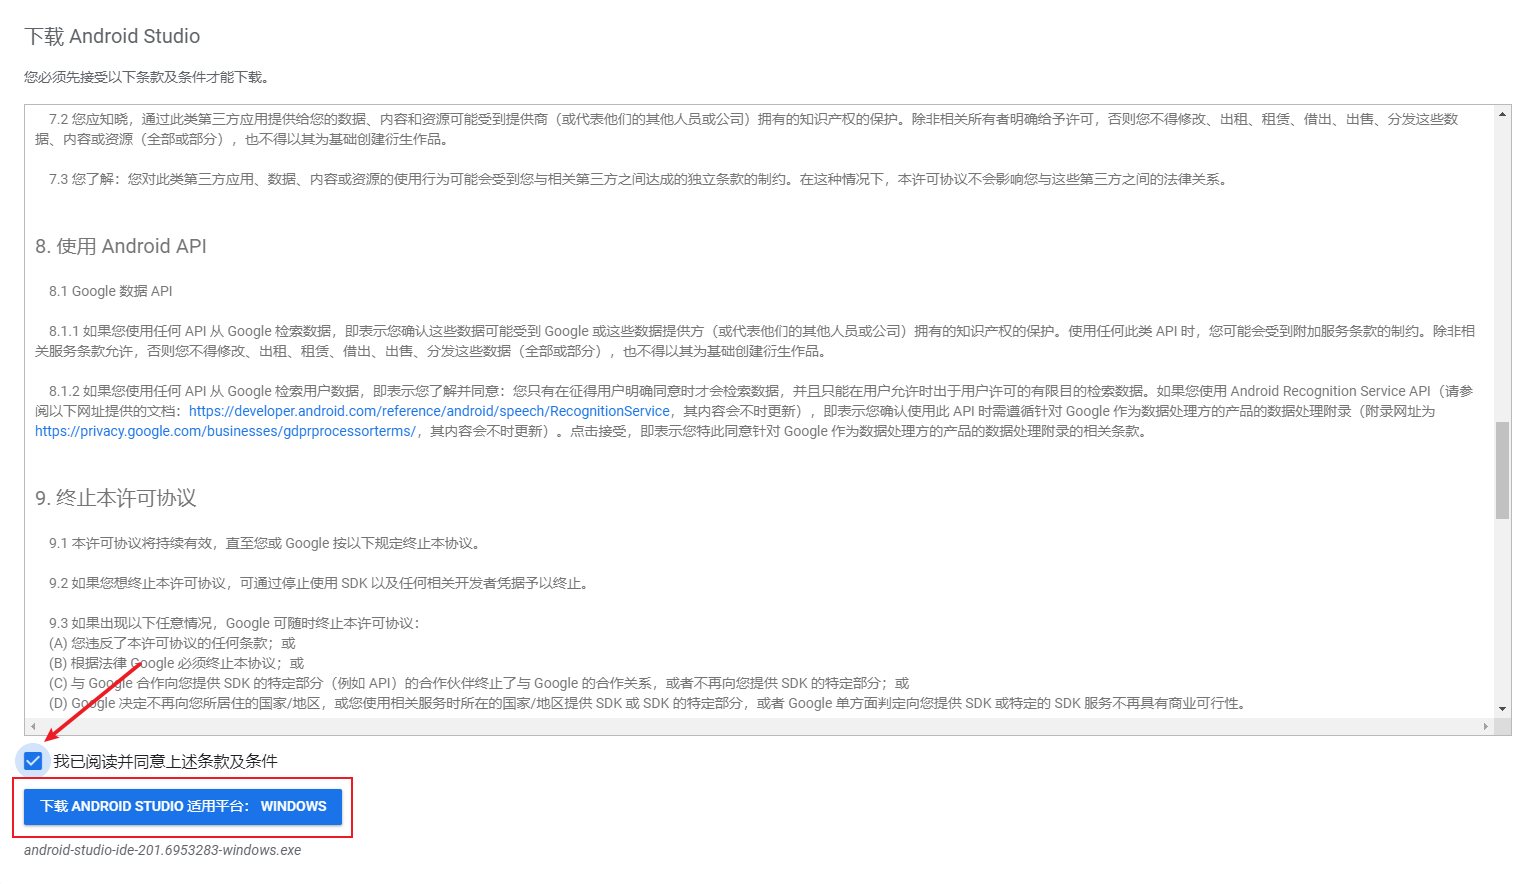
Head to the Android Studio download page and click the download button in the middle of the page.
In the dialog that appears, agree to the terms and click the download button again.
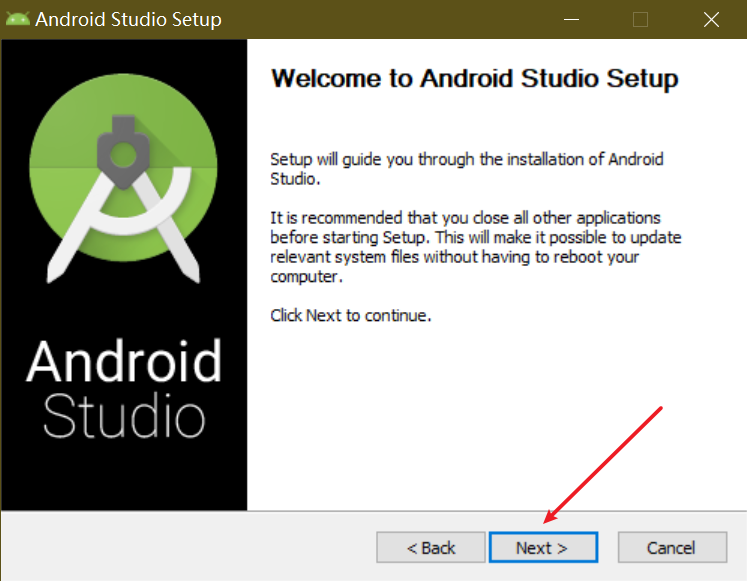
Launch the installer you just downloaded and click Next.
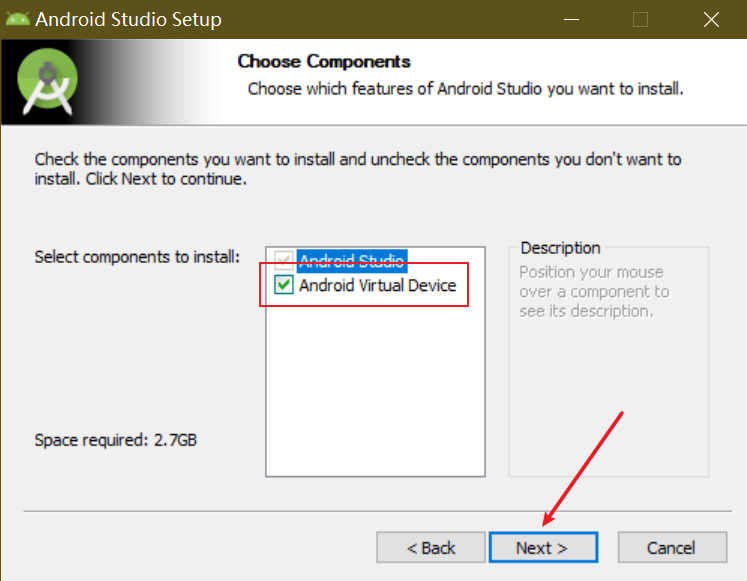
Make sure Android Virtual Device is checked, then click Next.
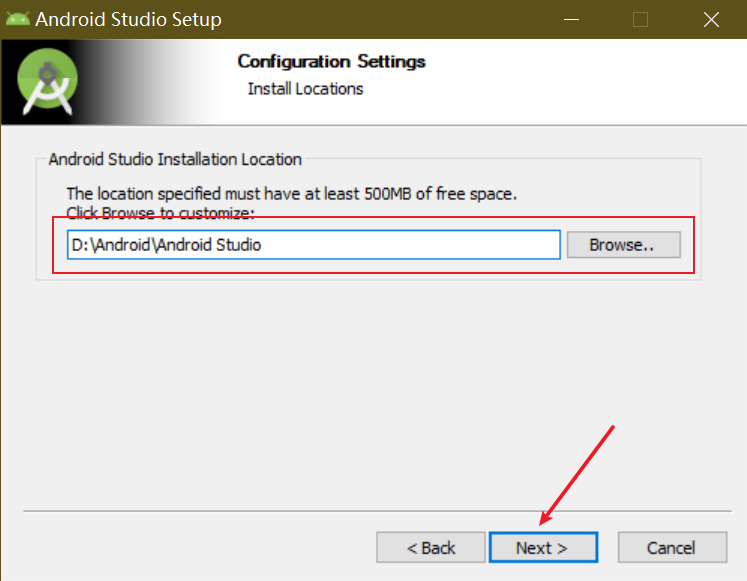
Choose the installation location that suits you and click Next.
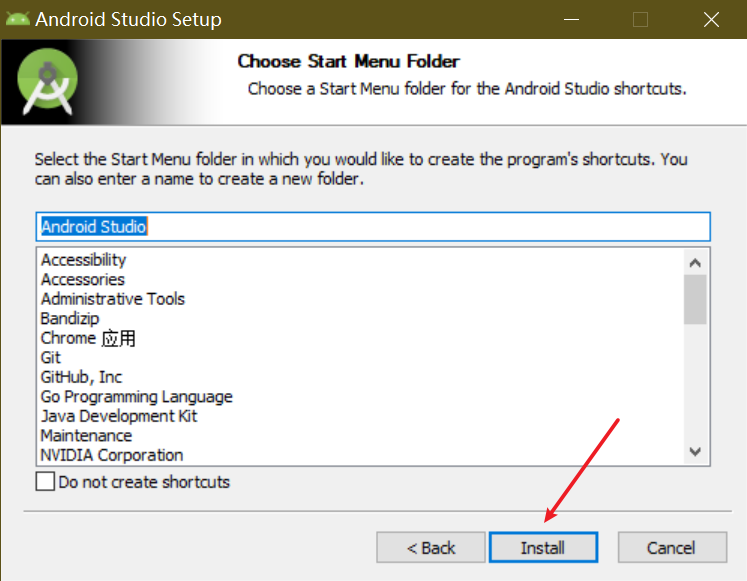
Click Install.
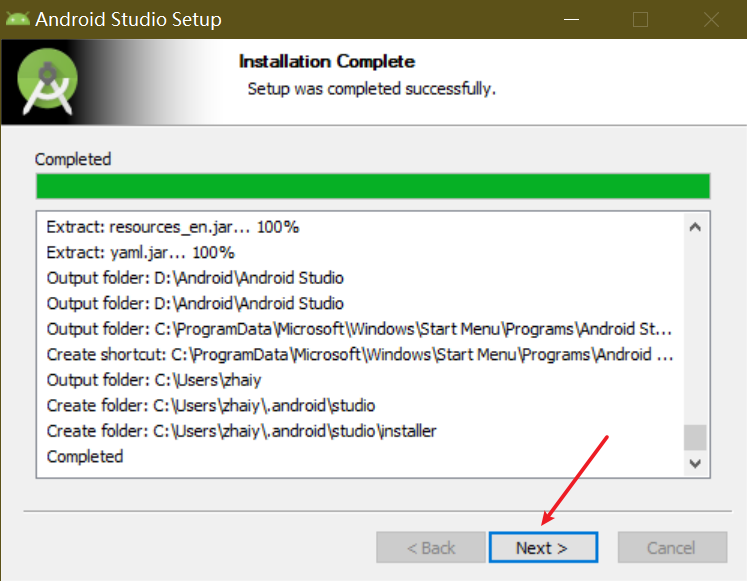
When the installer finishes, you’ll see the following confirmation. Click Next.
Check Start Android Studio and click Finish to launch the IDE.

Install the Android SDK
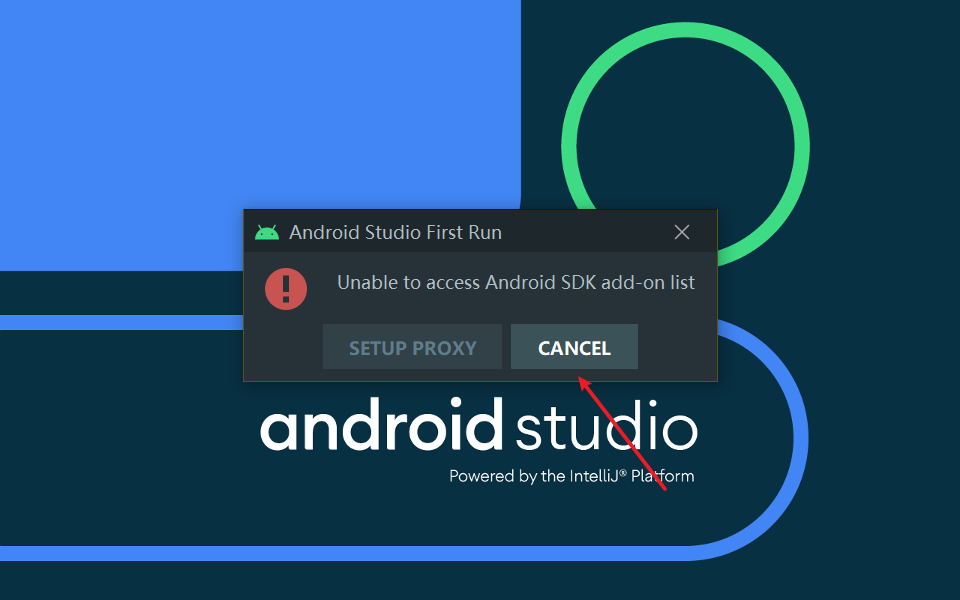
On first launch you should see the screen below. We can skip proxy configuration—just click Cancel to proceed directly to the Android SDK setup.
Click Next.
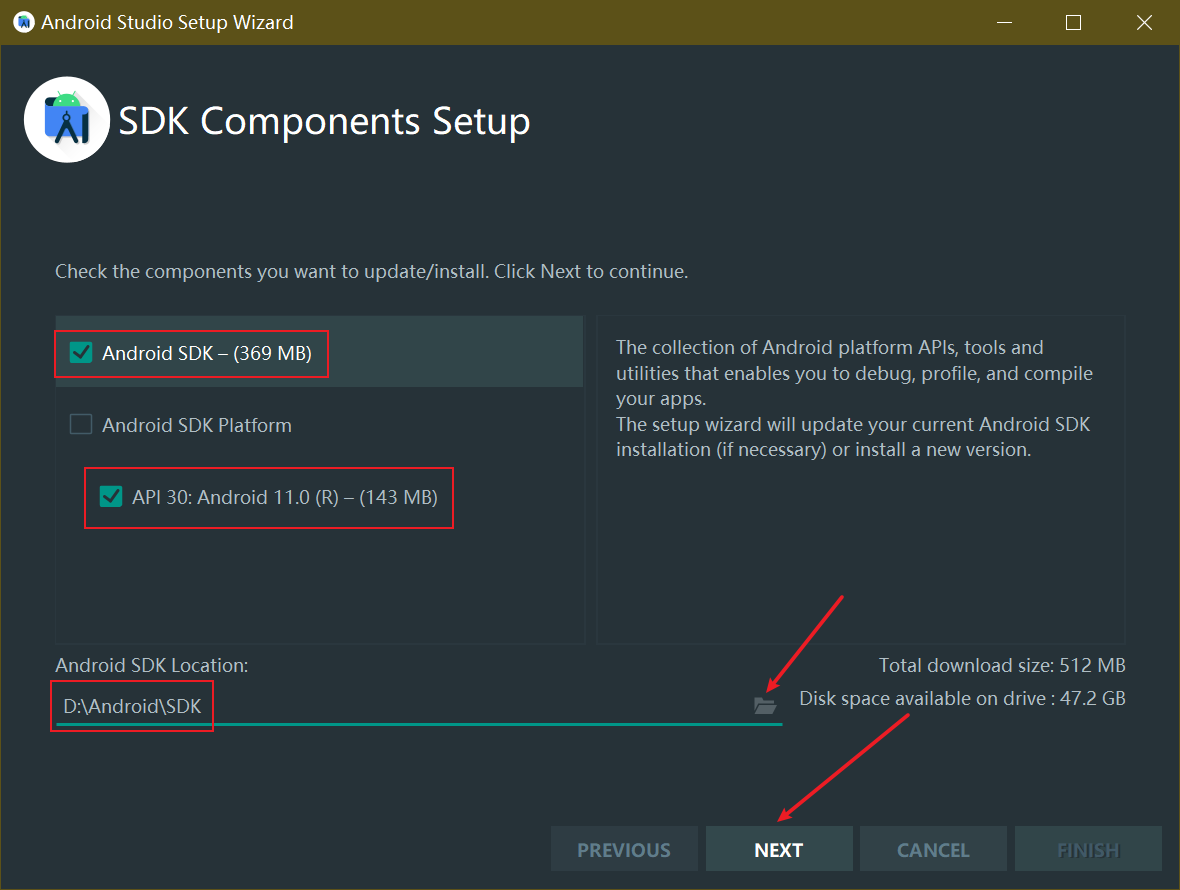
Select the Android SDK versions you wish to install and choose an installation directory, then click Next.
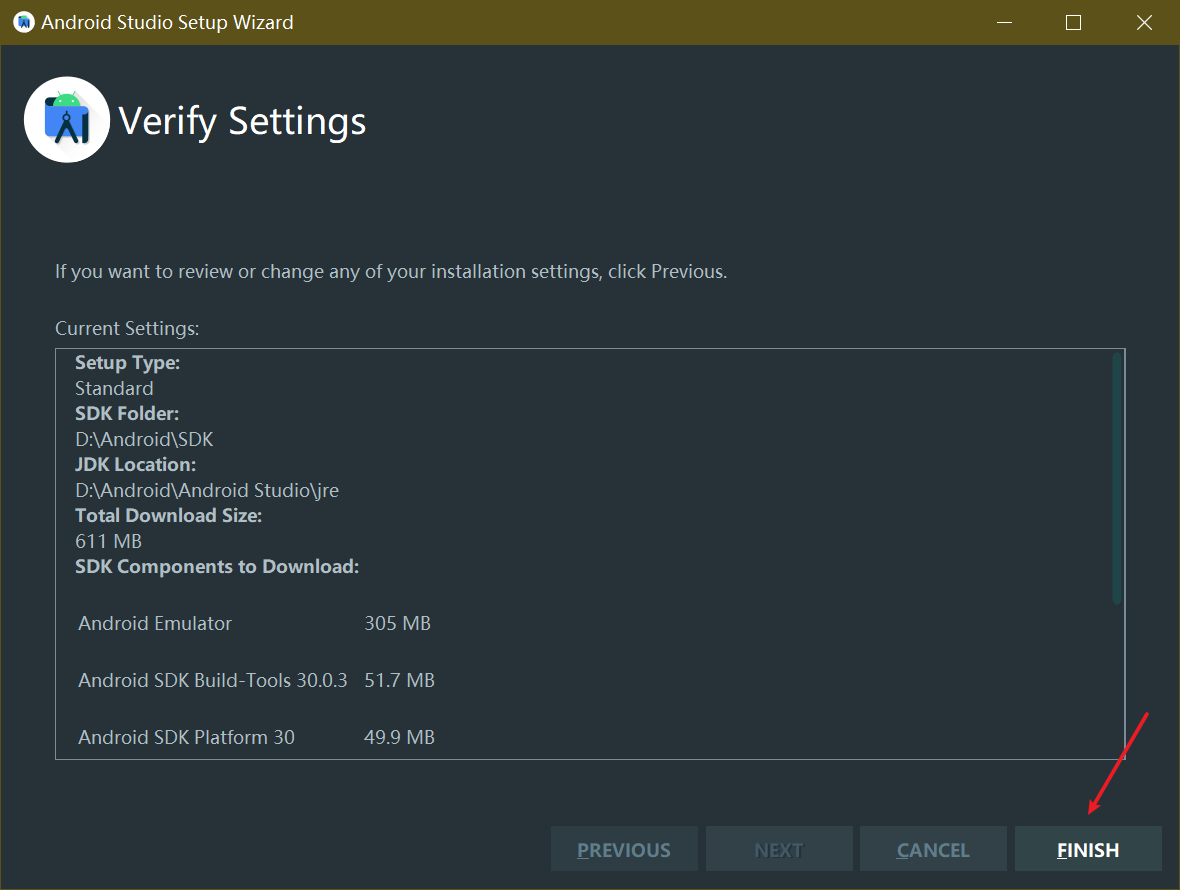
Click Finish to start the installation.
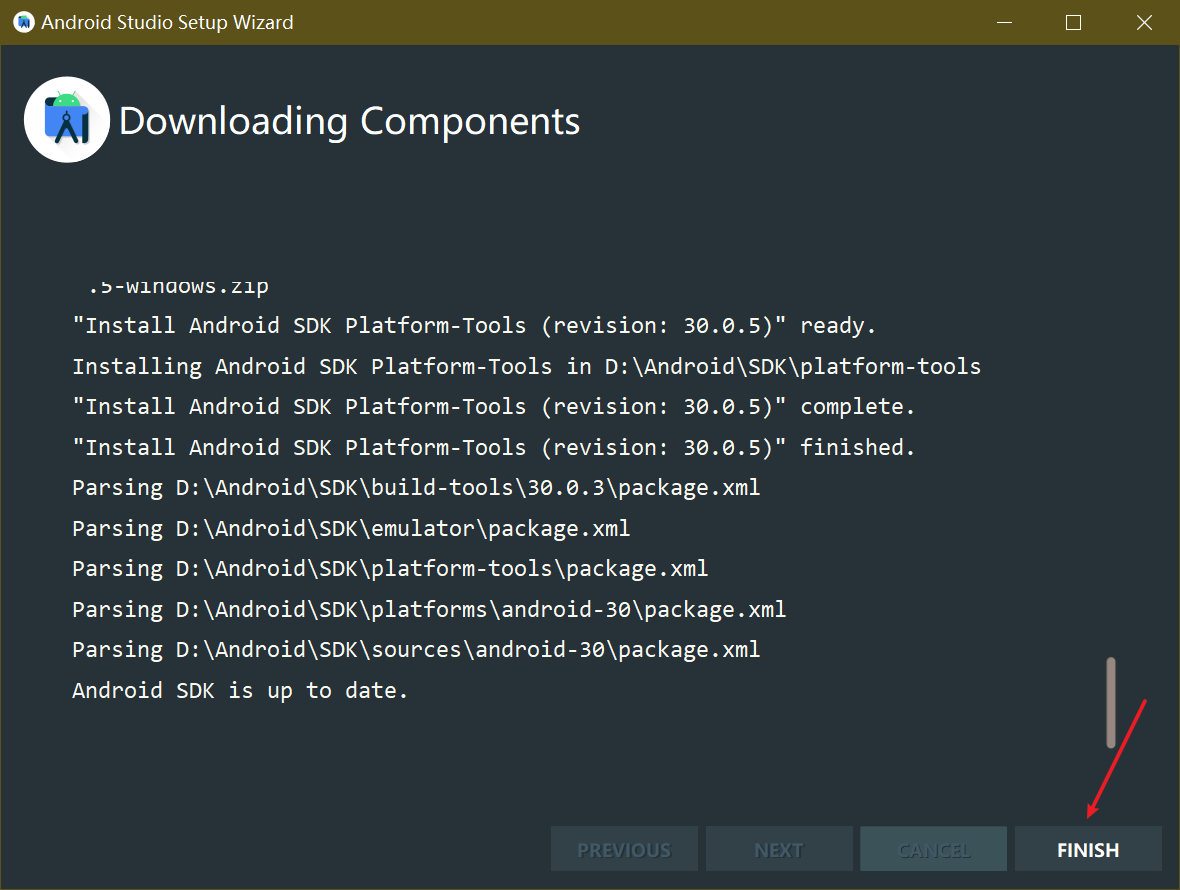
Once the setup completes, the screen should look like the following. Click Finish to reveal Android Studio’s full interface.
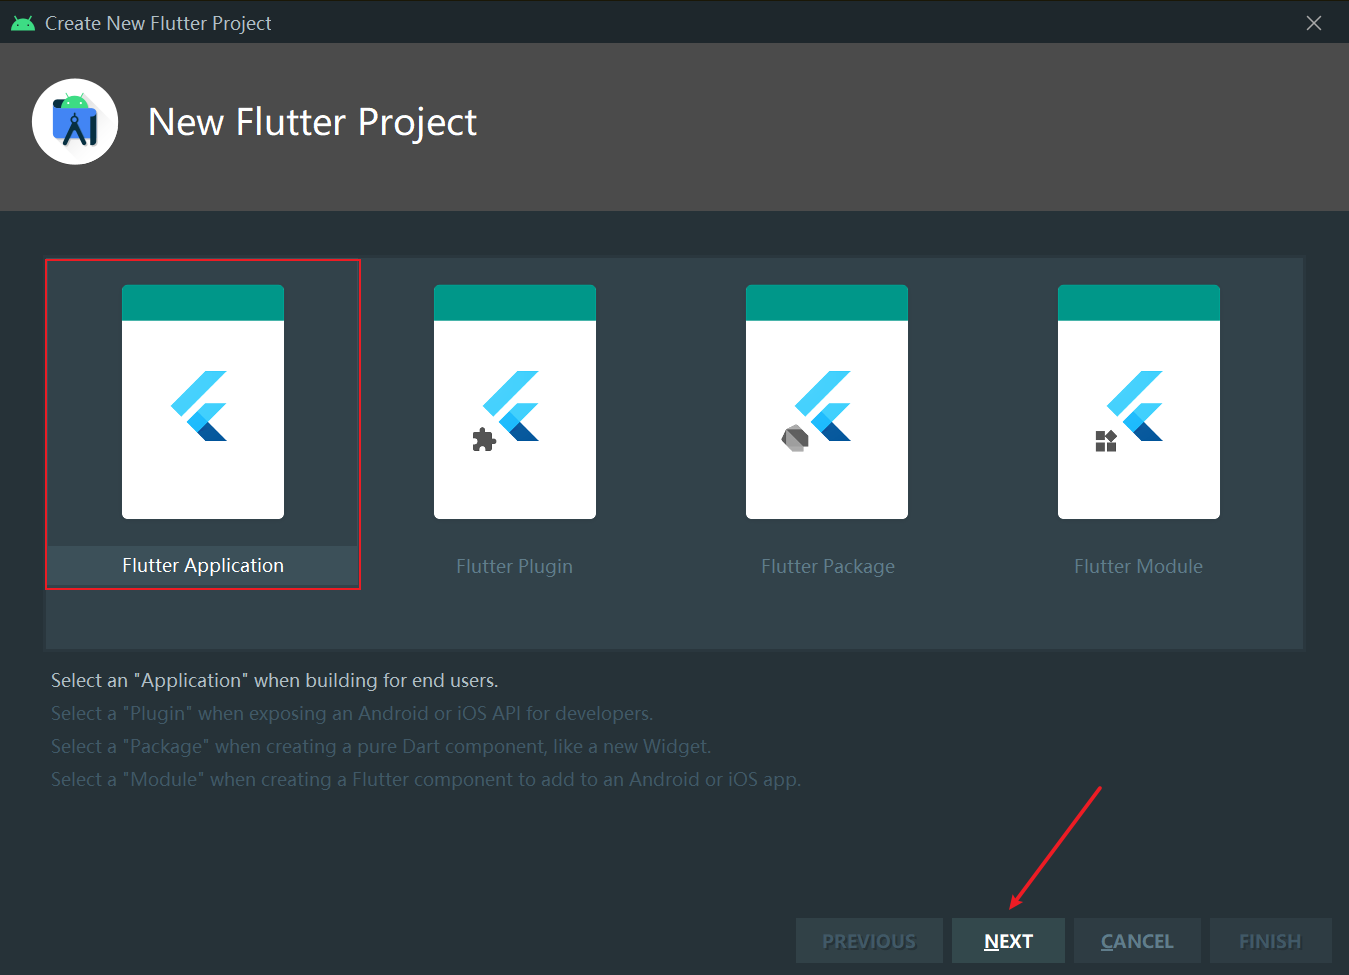
Create a Flutter Project
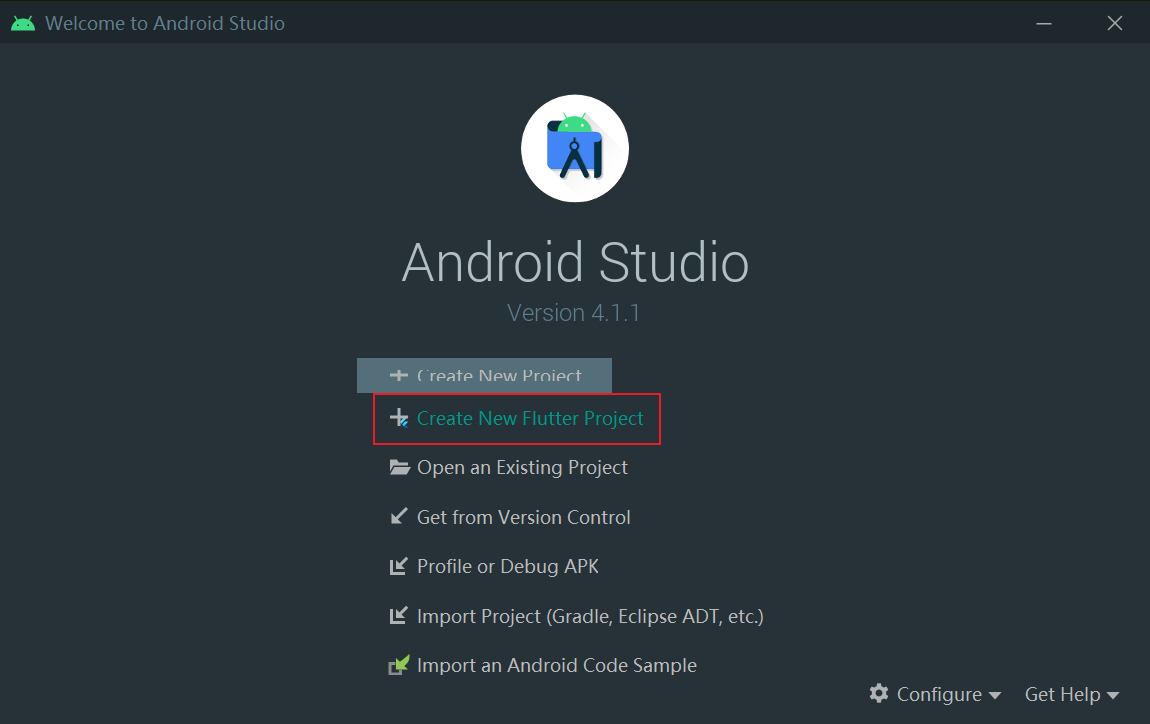
After Android Studio opens, you should see the welcome screen below. Click Create New Flutter Project.
Choose Flutter Application, then click Next.
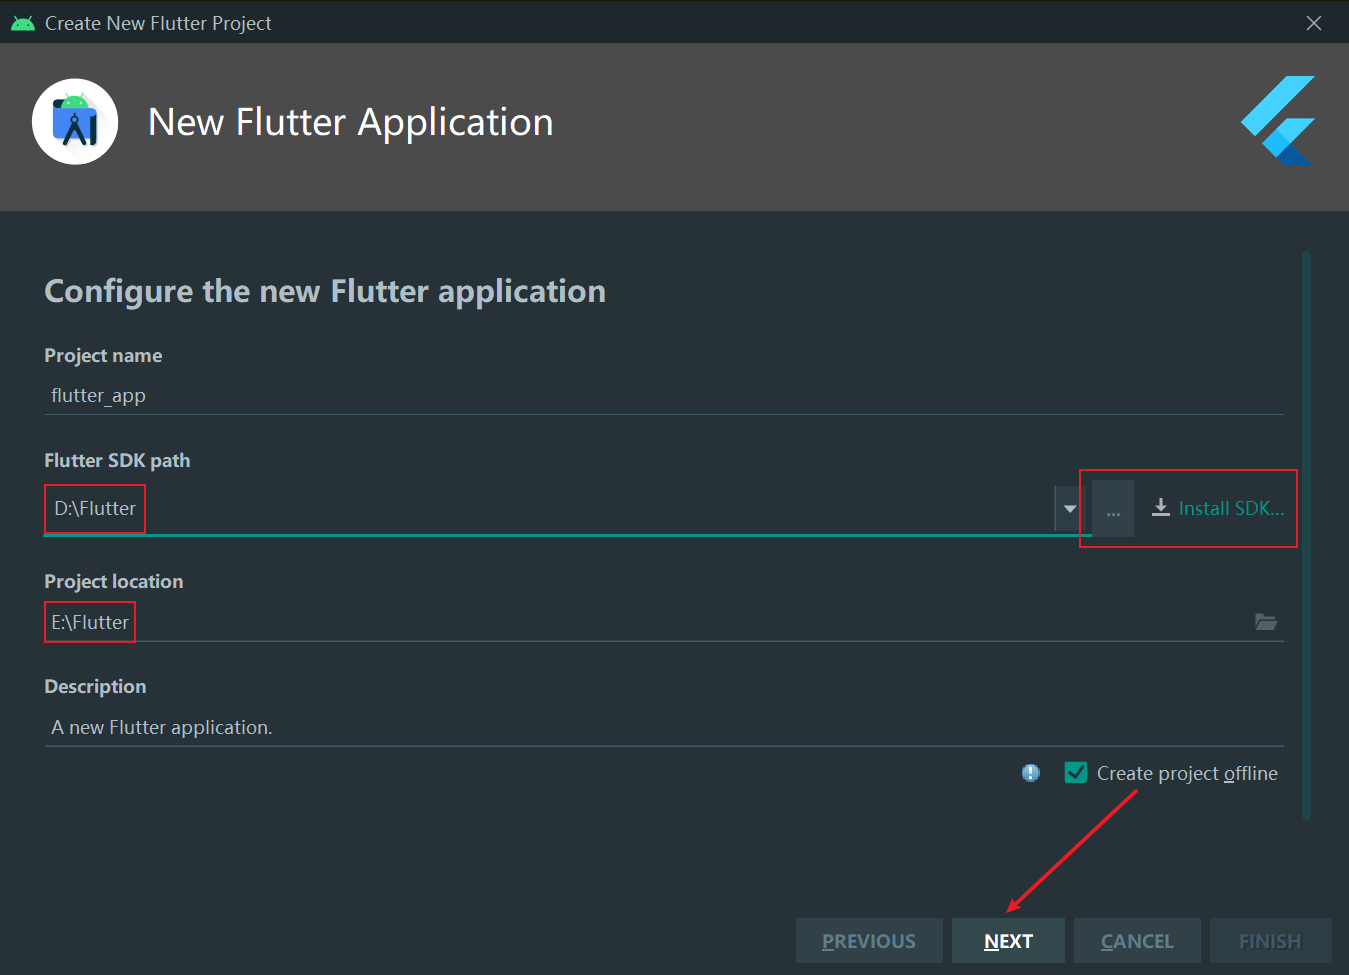
If you installed the Flutter SDK to a custom directory, select it now. Configure your Flutter workspace, leave everything else as default, and click Next.
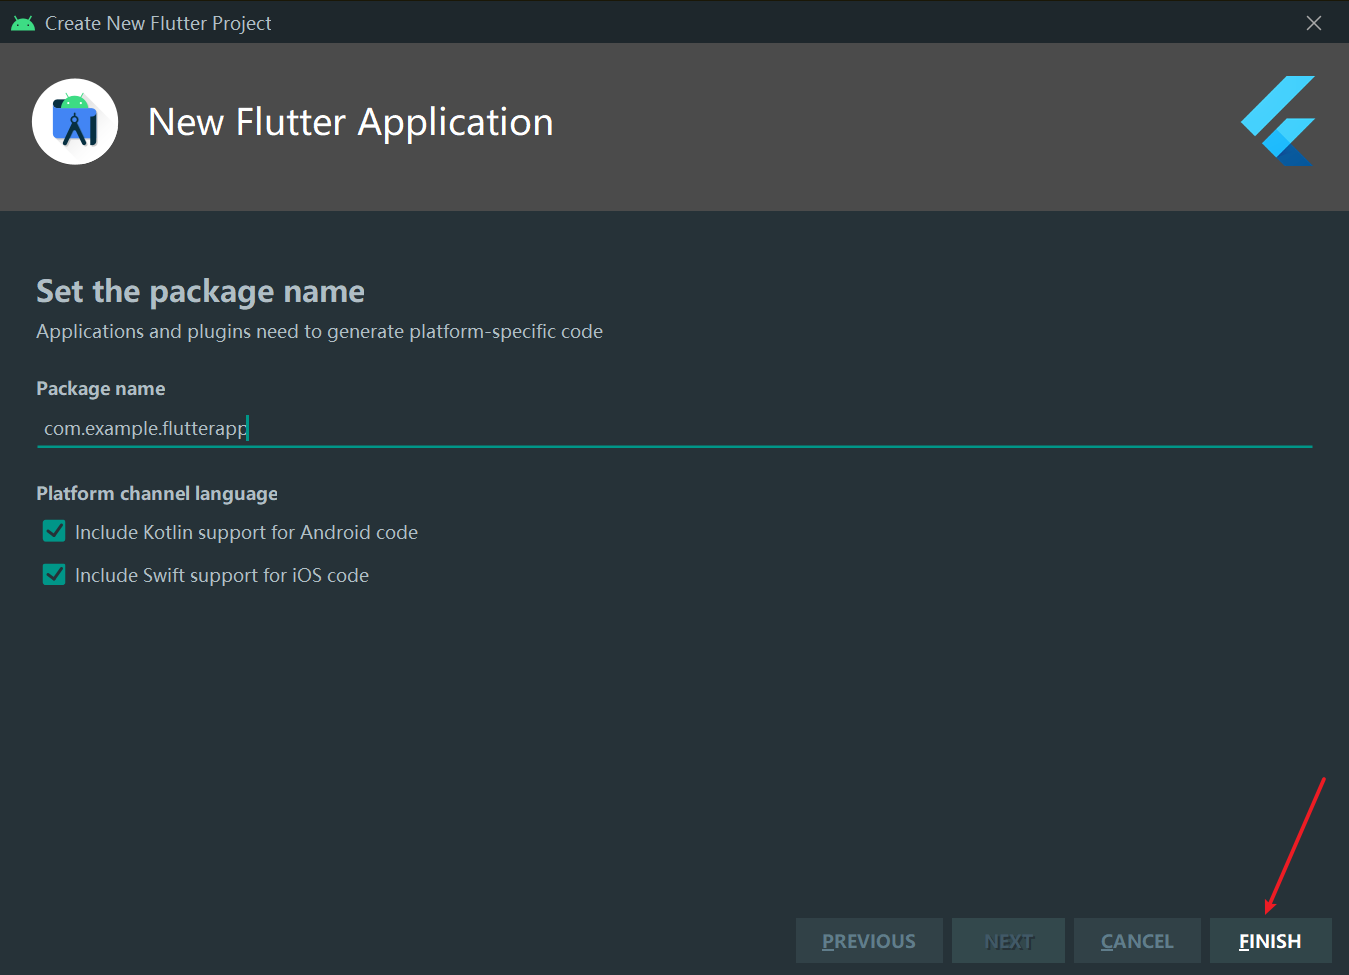
Keep the defaults and click Finish to create the project.
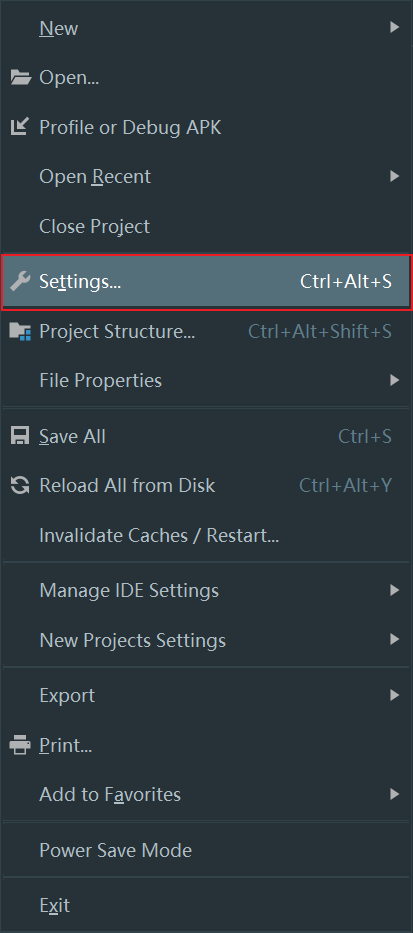
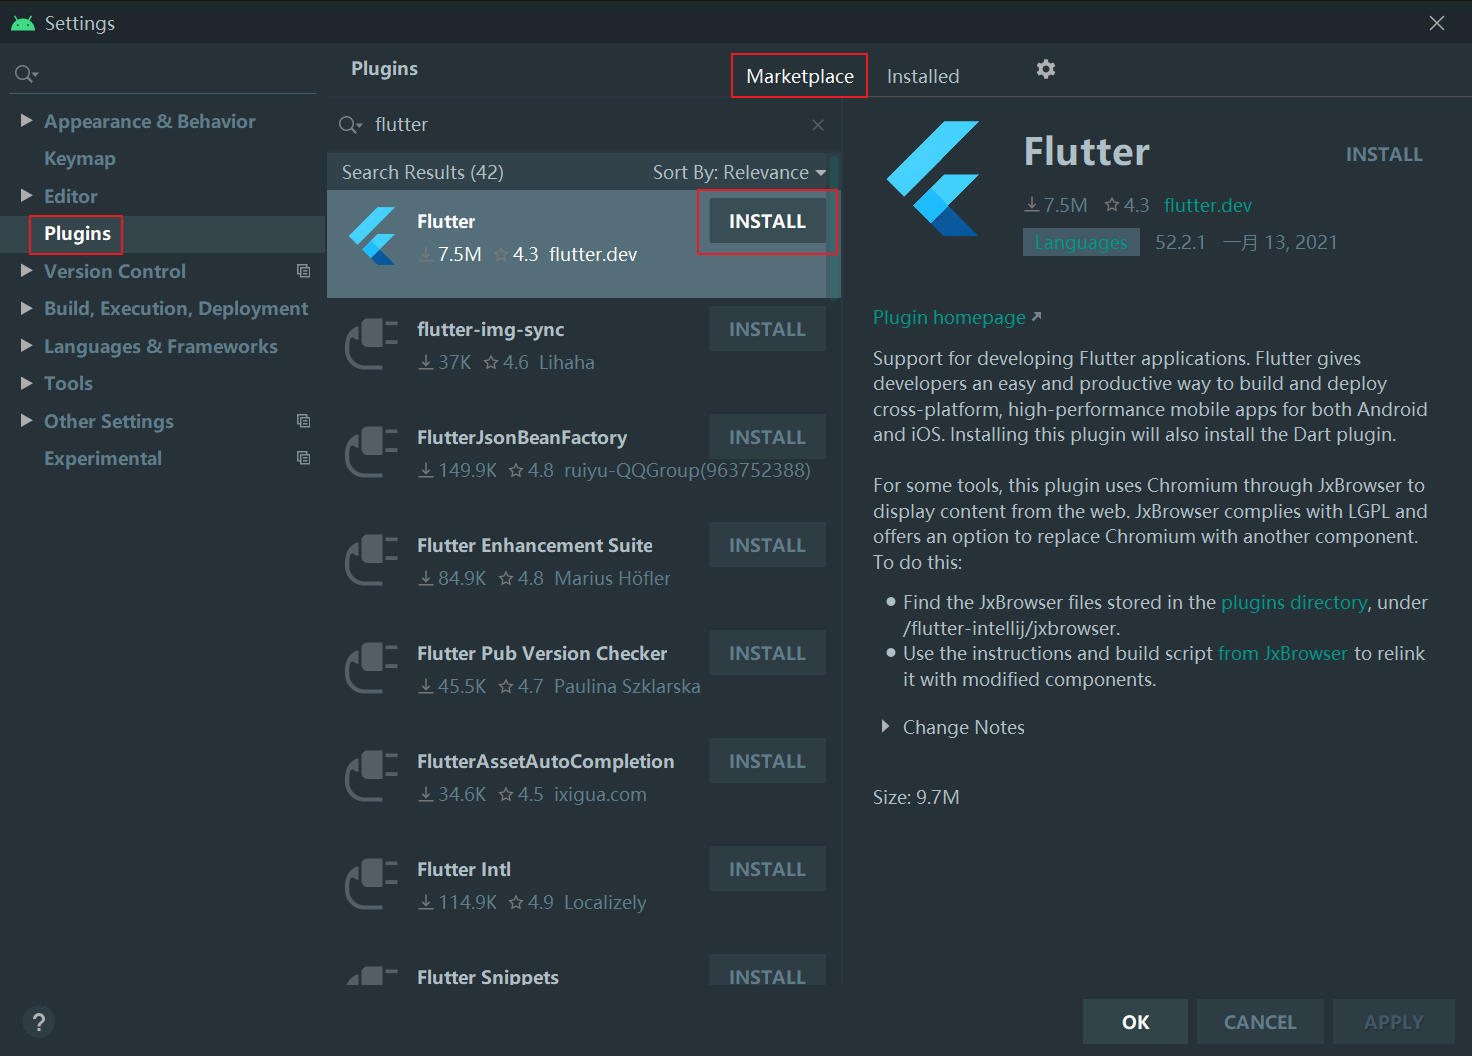
In Android Studio, open the File menu (top left) and choose Settings.
On the left, select Plugins. At the top right, switch to the Marketplace tab, search for “flutter”, then click Install next to the Flutter plugin.
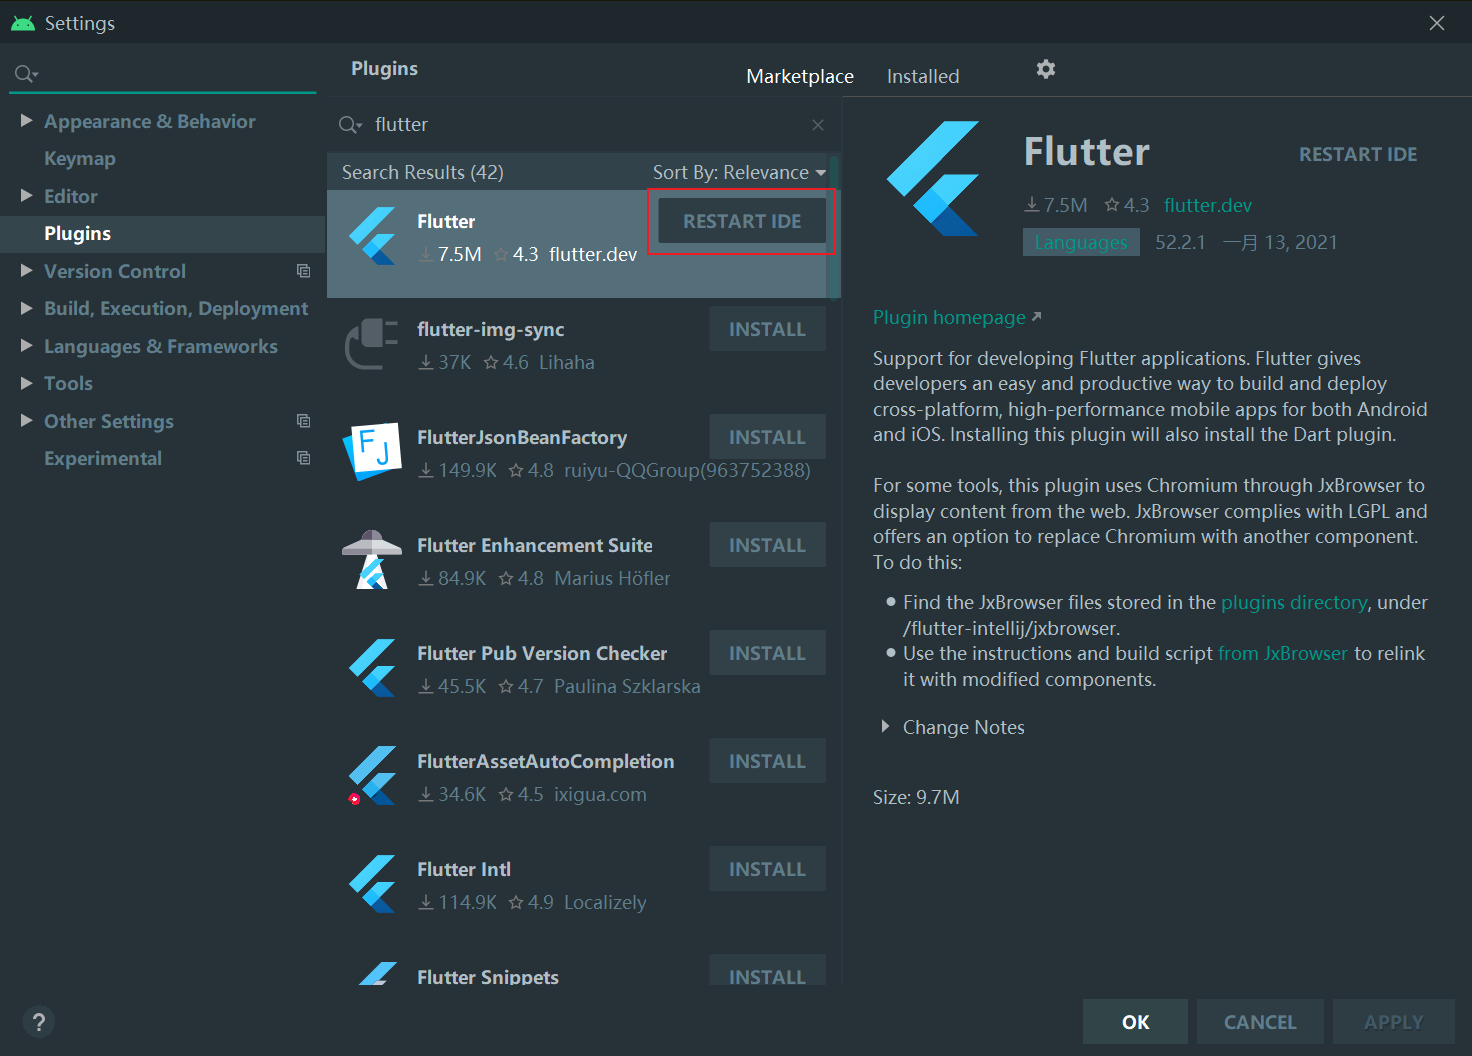
Restart Android Studio once the plugin finishes installing.
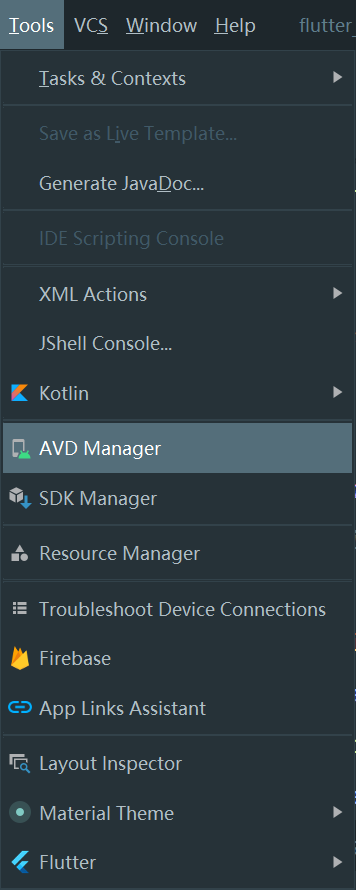
Create an Emulator
Open the Tools menu and choose AVD Manager.
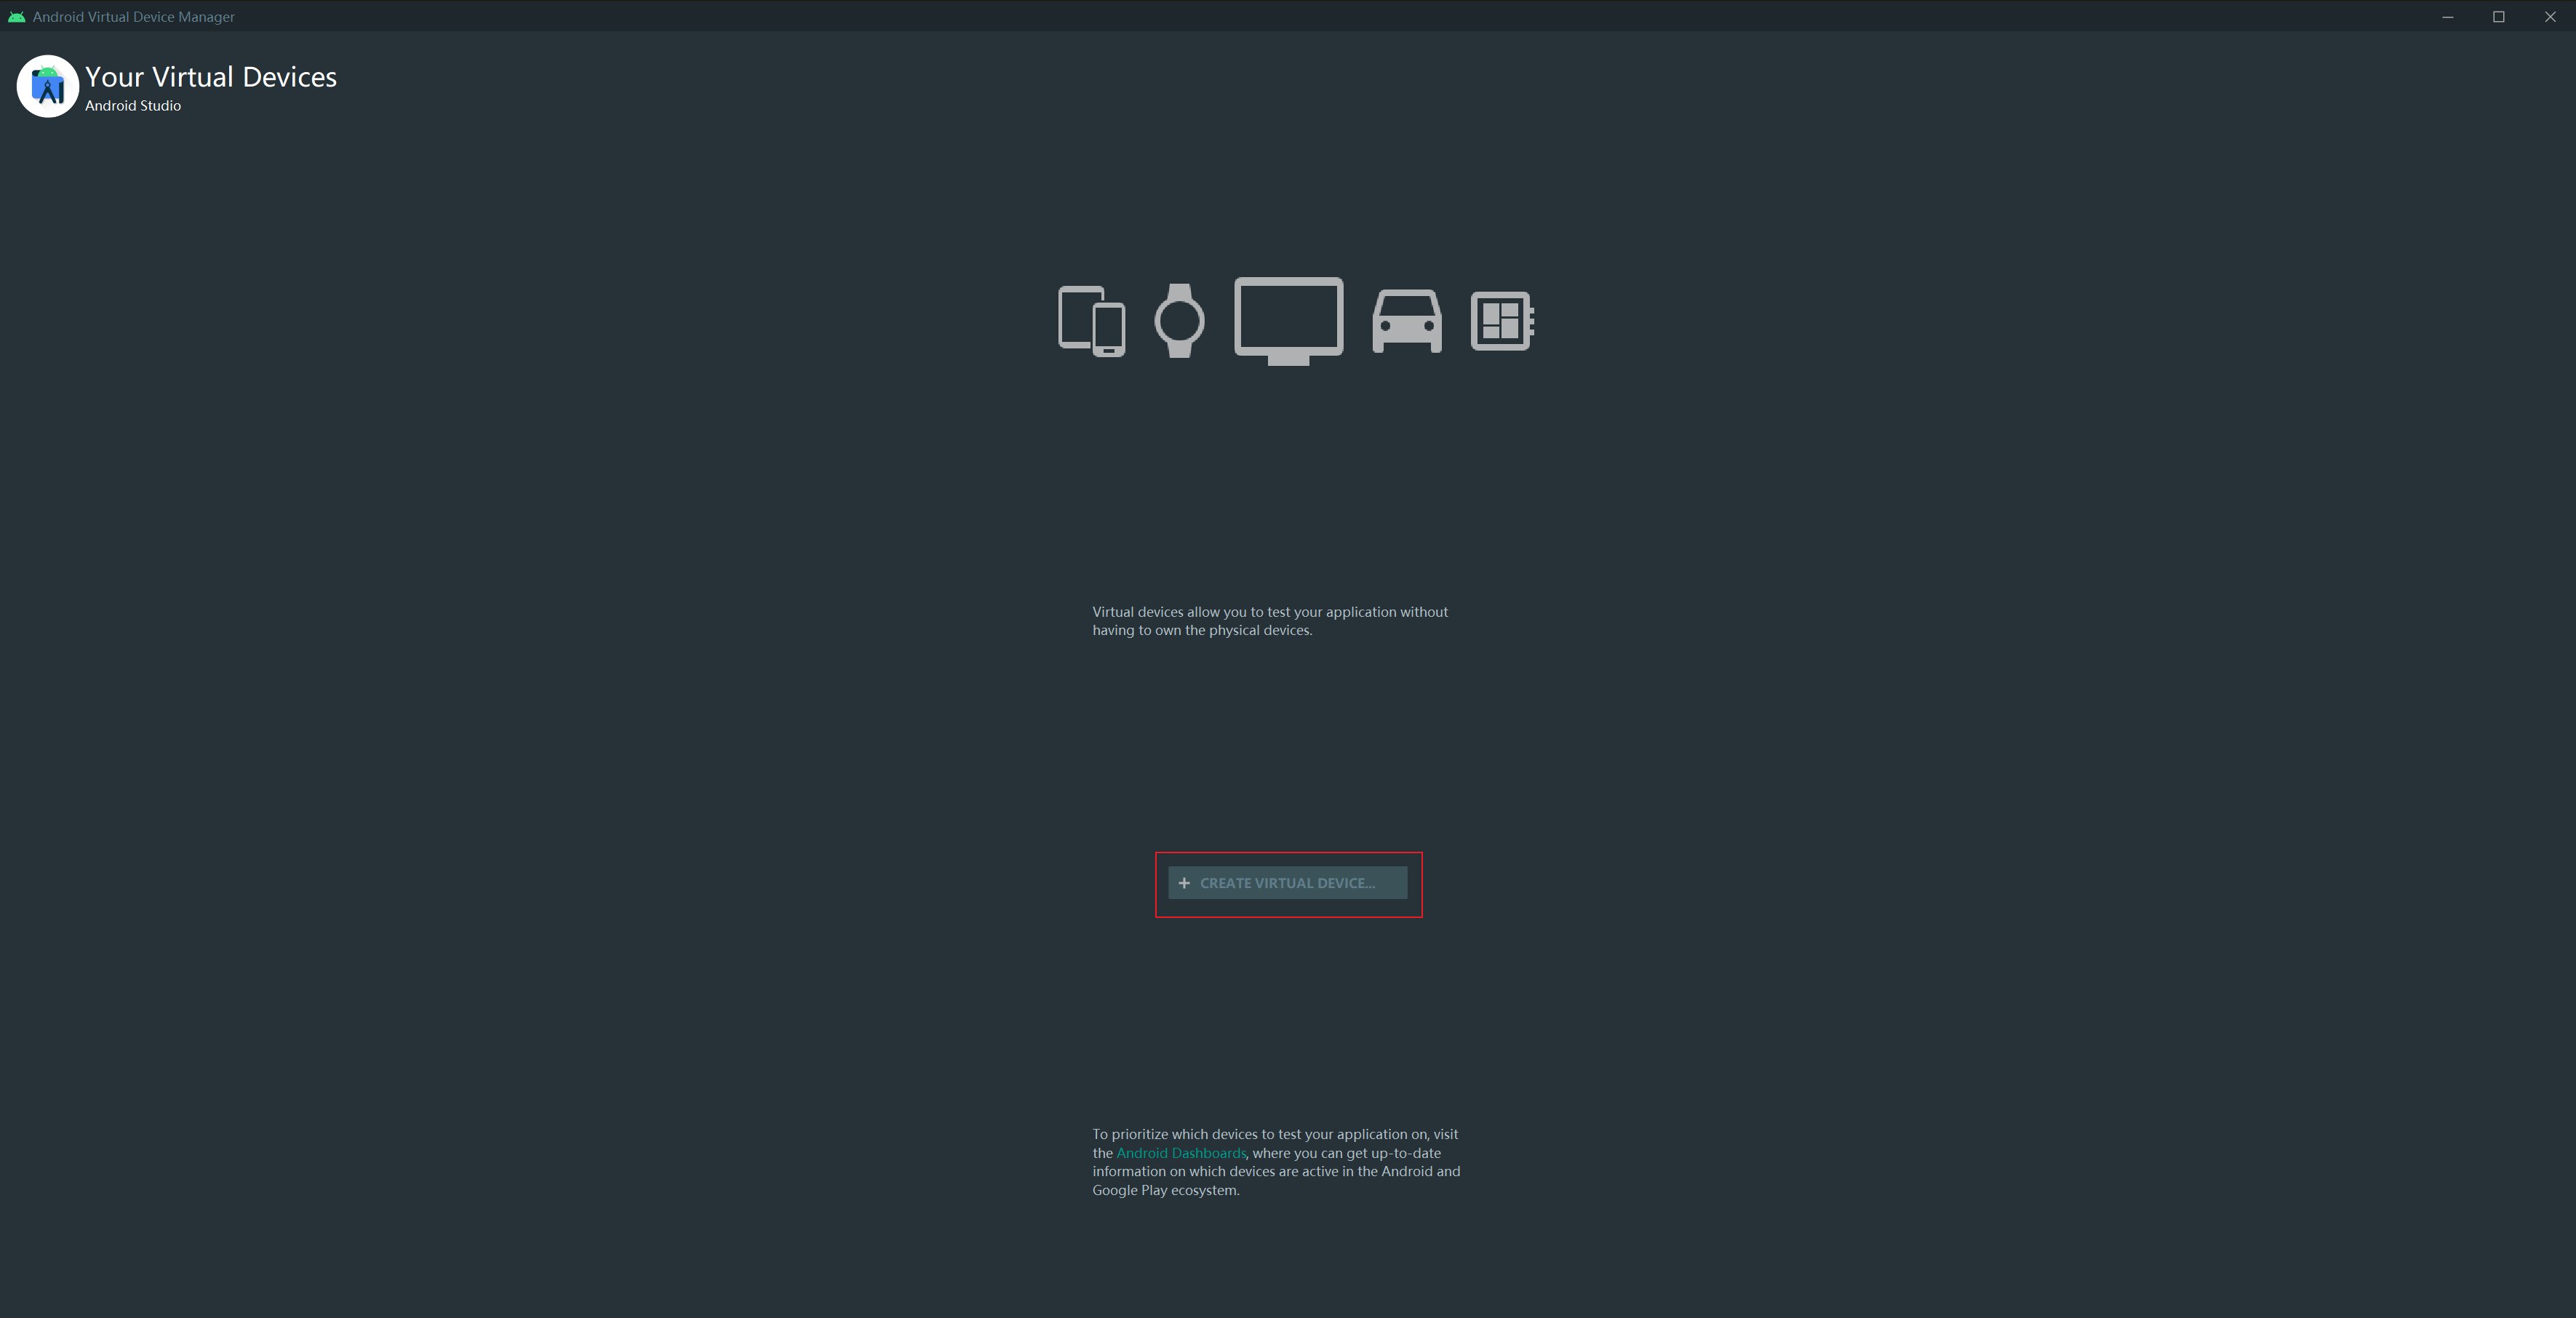
If you have never created an Android Virtual Device, the screen will look like this. Click Create Virtual Device.
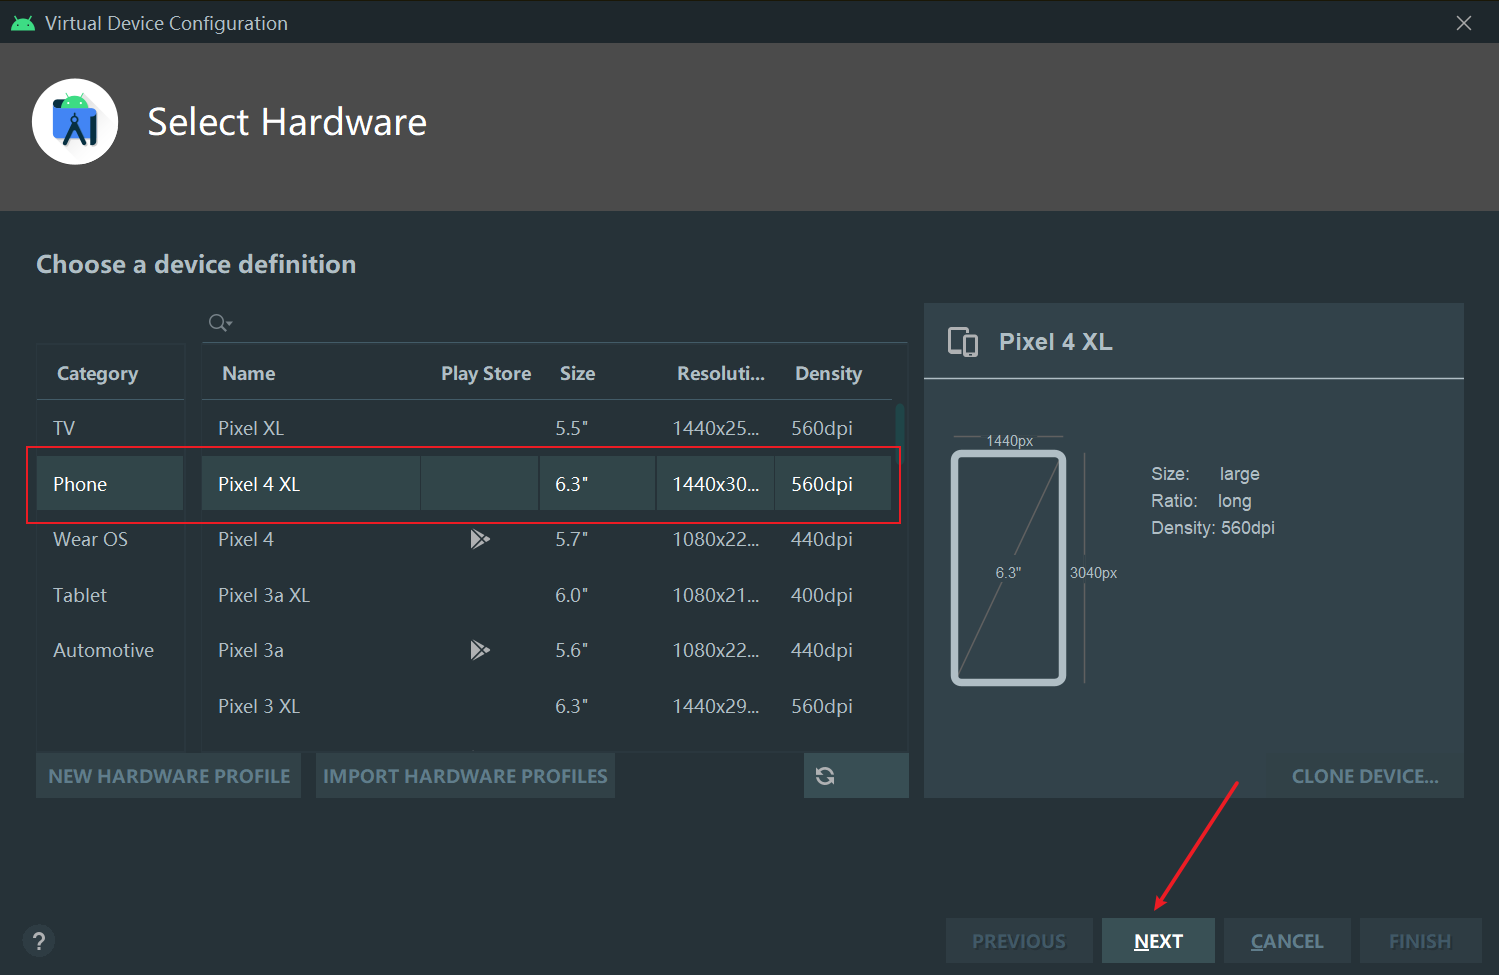
Select the device hardware profile you prefer and click Next.
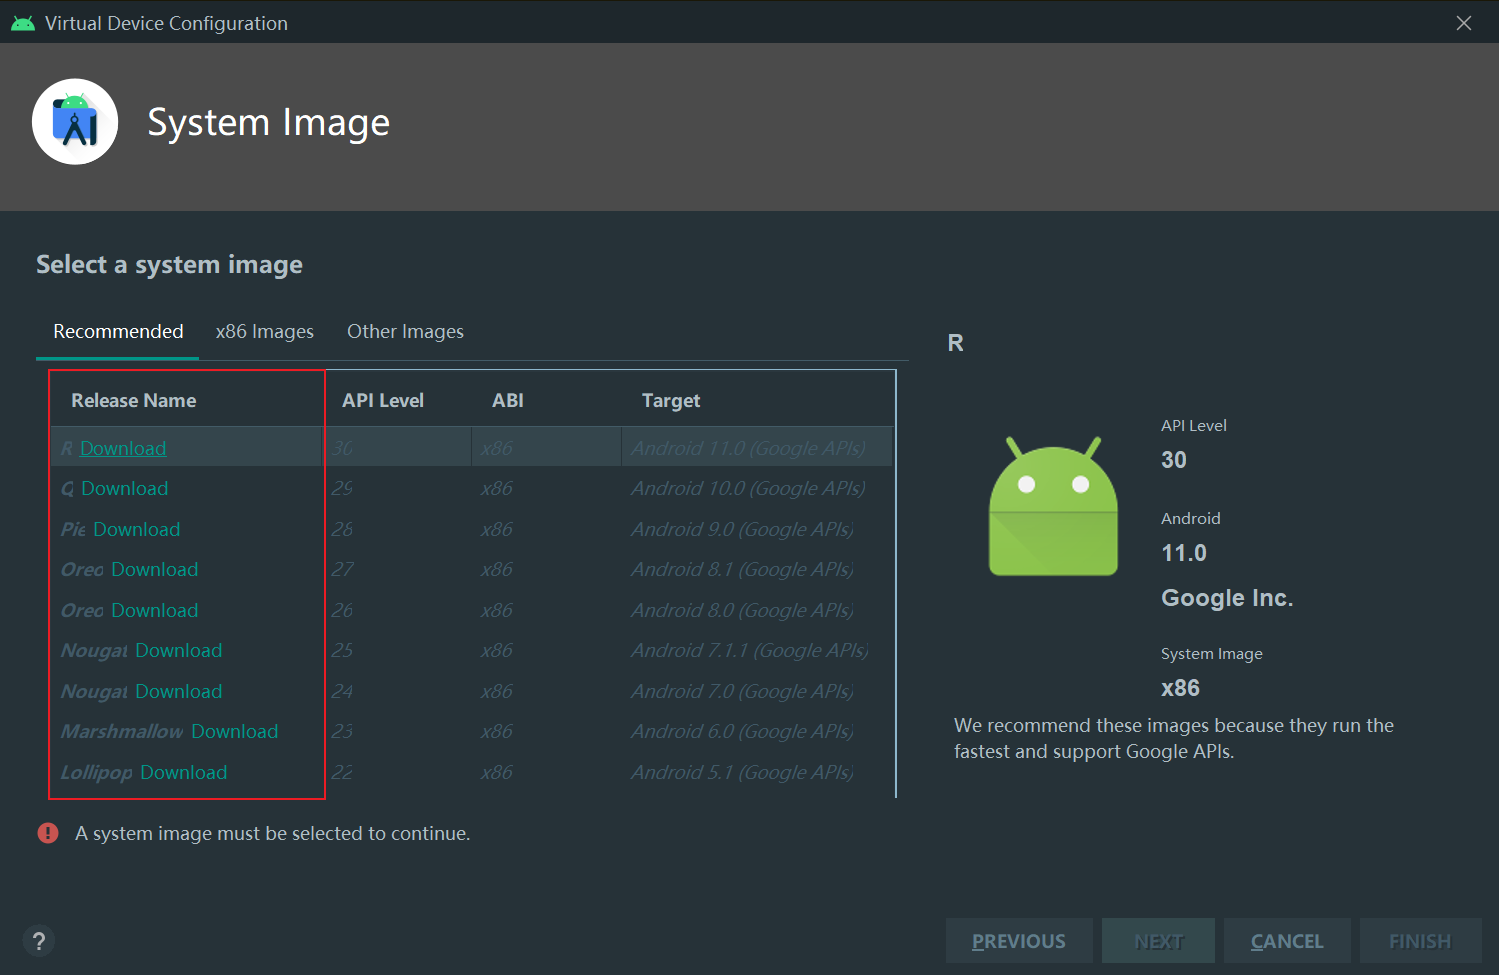
Pick a system image and click the Download link.
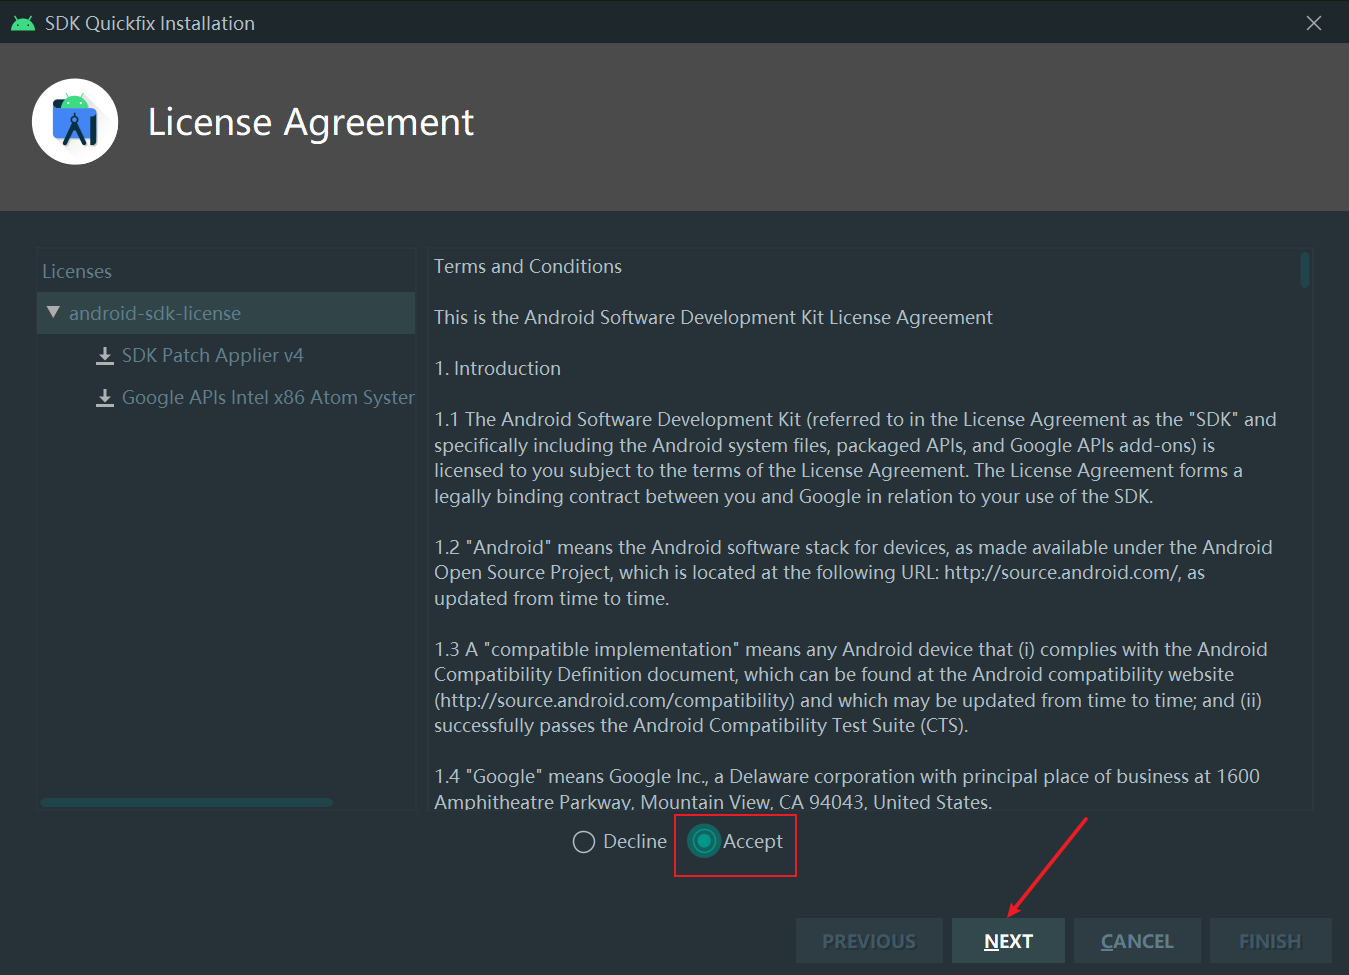
In the new dialog, agree to the terms and click Next to begin downloading.
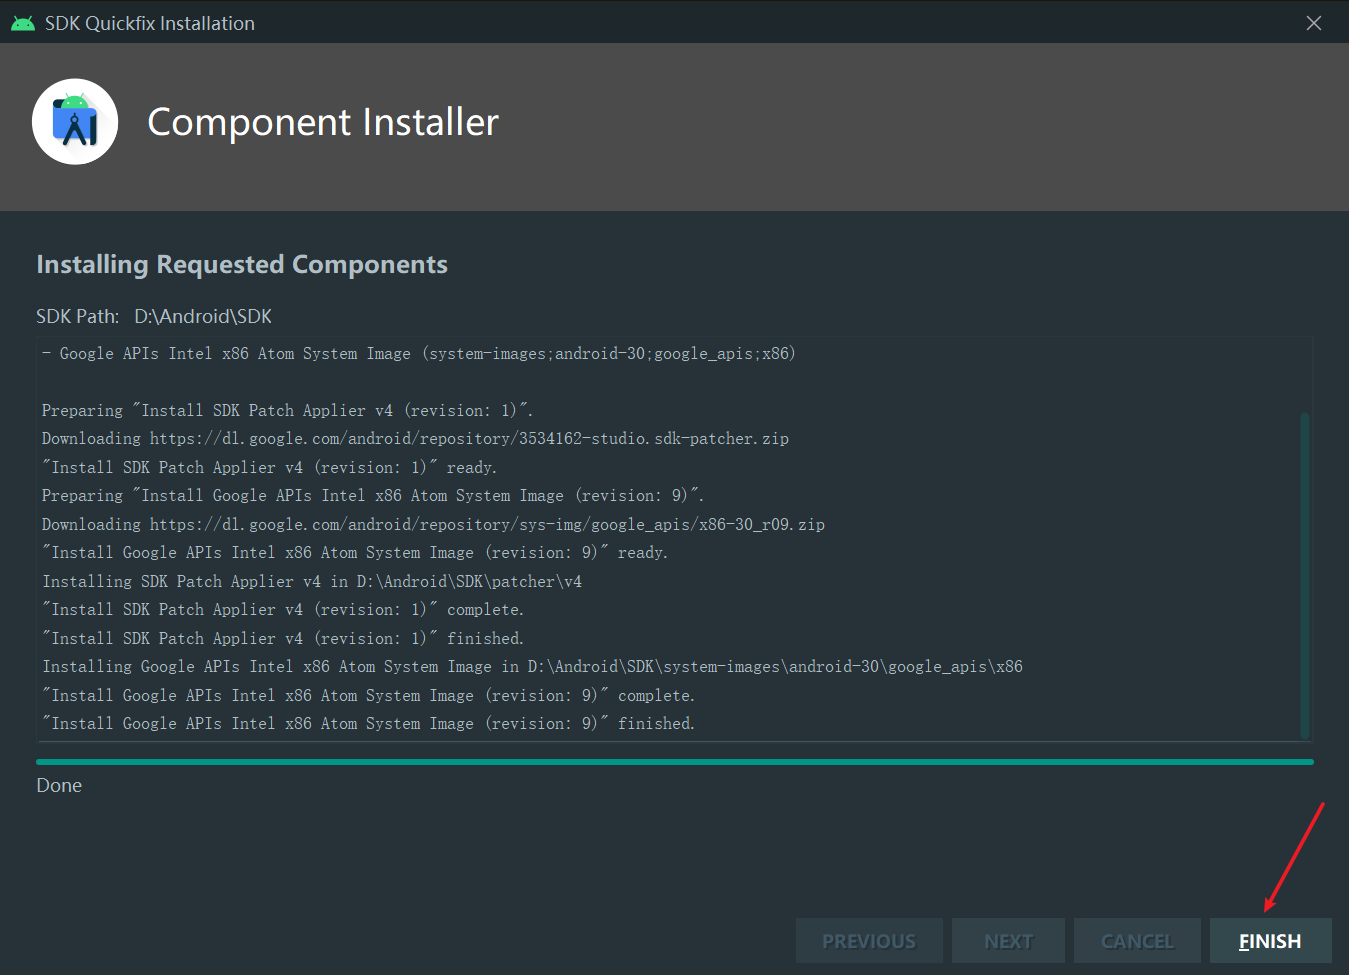
When the download completes, you’ll see the confirmation below. Click Finish to return to the image list.
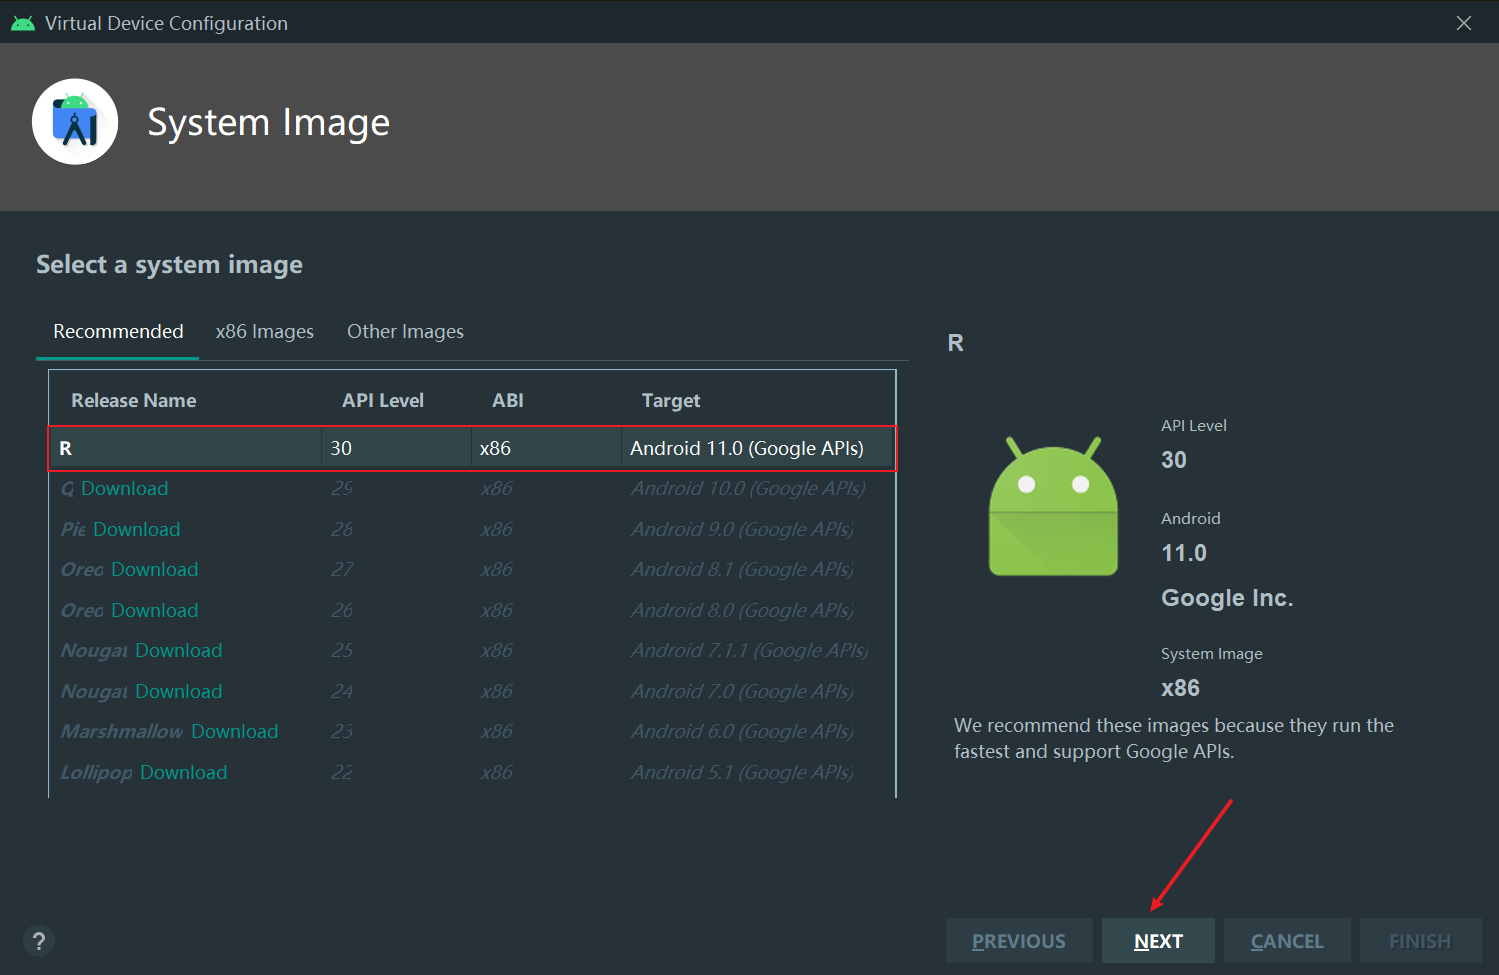
Select the image you just downloaded and click Next.
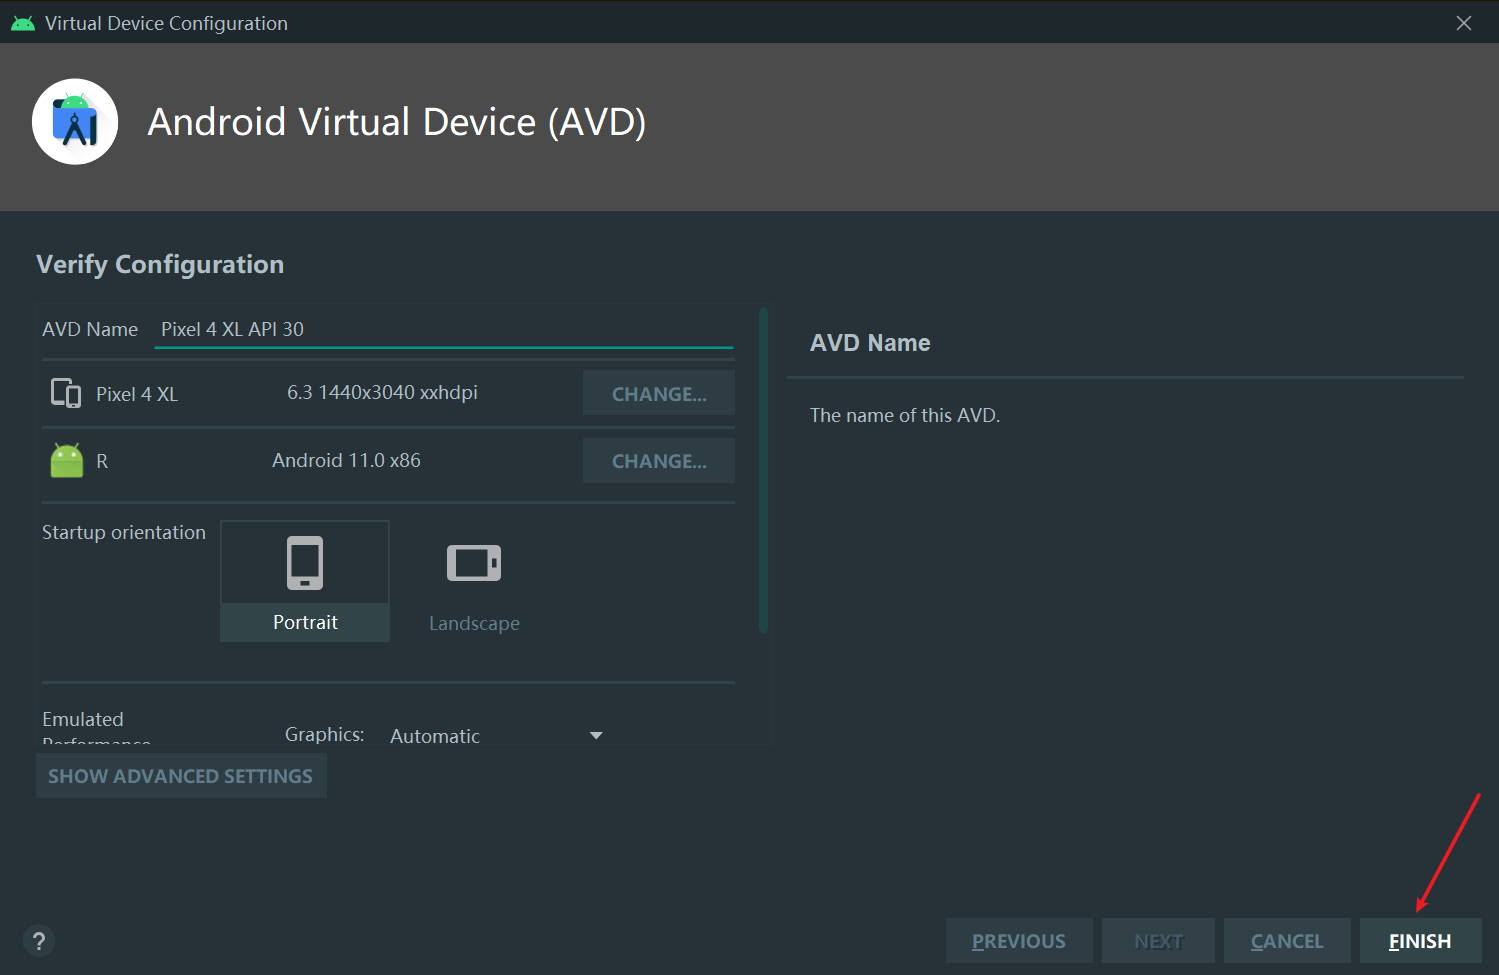
Accept the defaults and click Finish to create the virtual device.
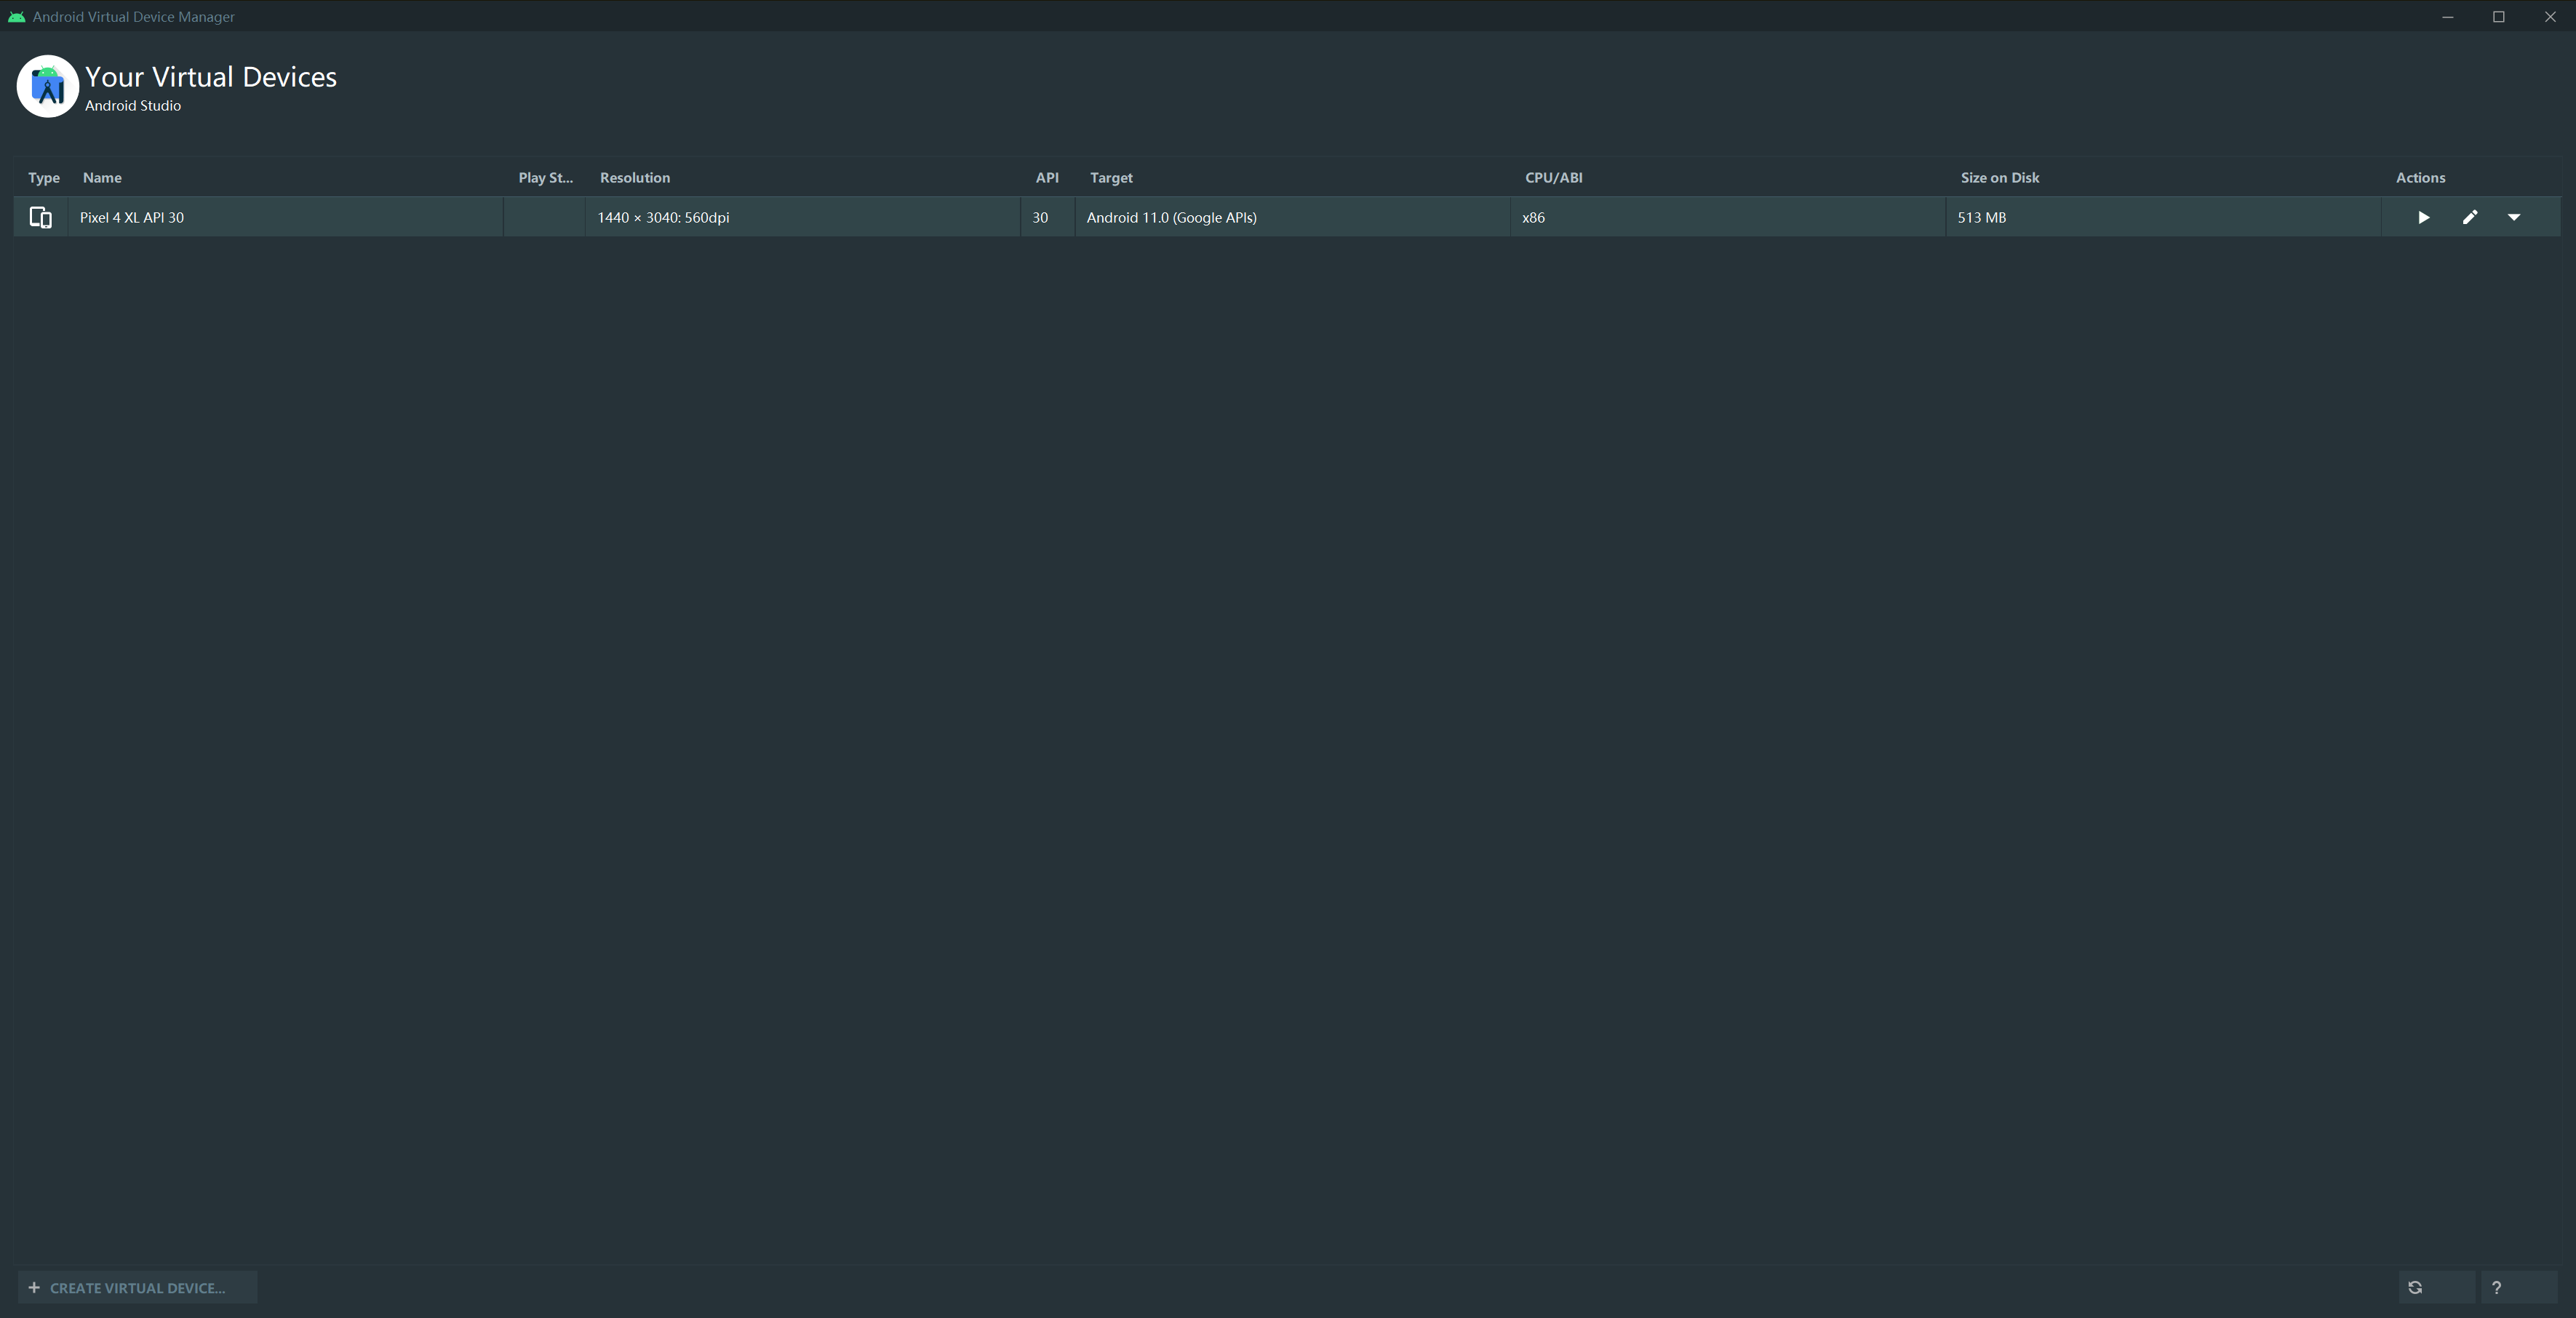
The new emulator now appears in the list—use it to confirm creation succeeded.
Run the Flutter Project
TIP
From this point forward you may encounter all kinds of errors that prevent the app from running. Consult the Flutter Environment Troubleshooting Guide for help.
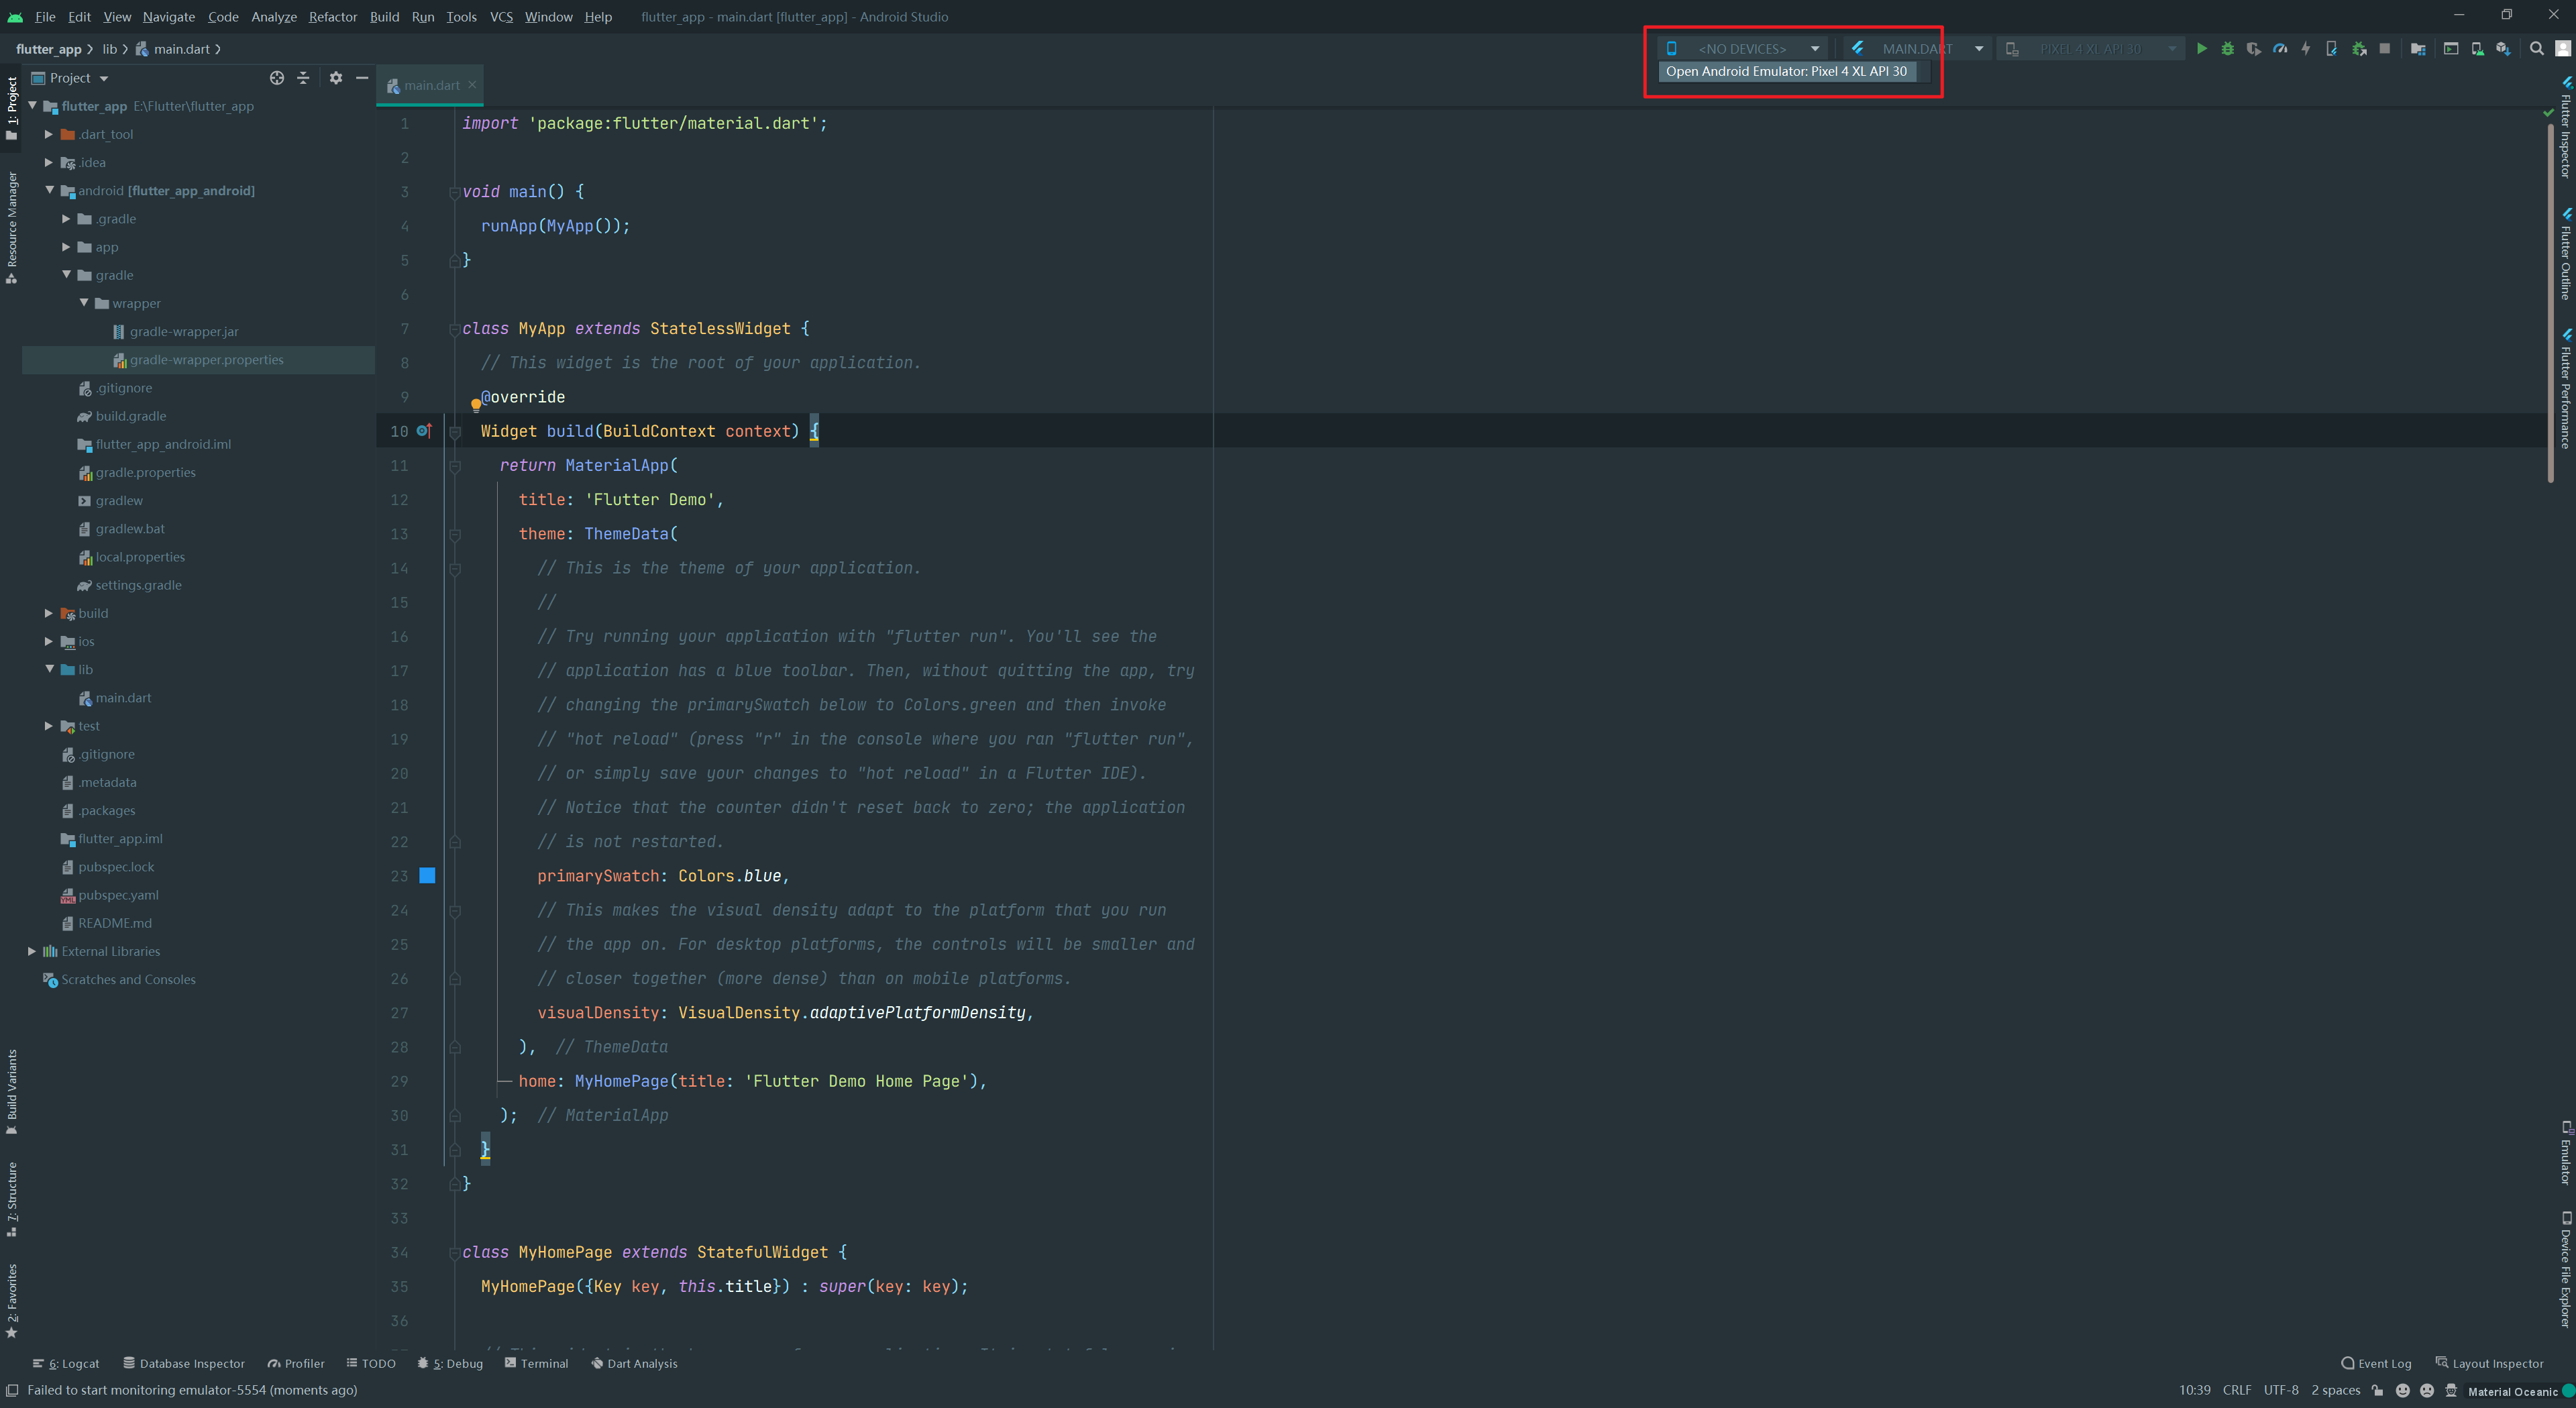
Use the device selector in the upper-right corner of Android Studio to start the emulator.
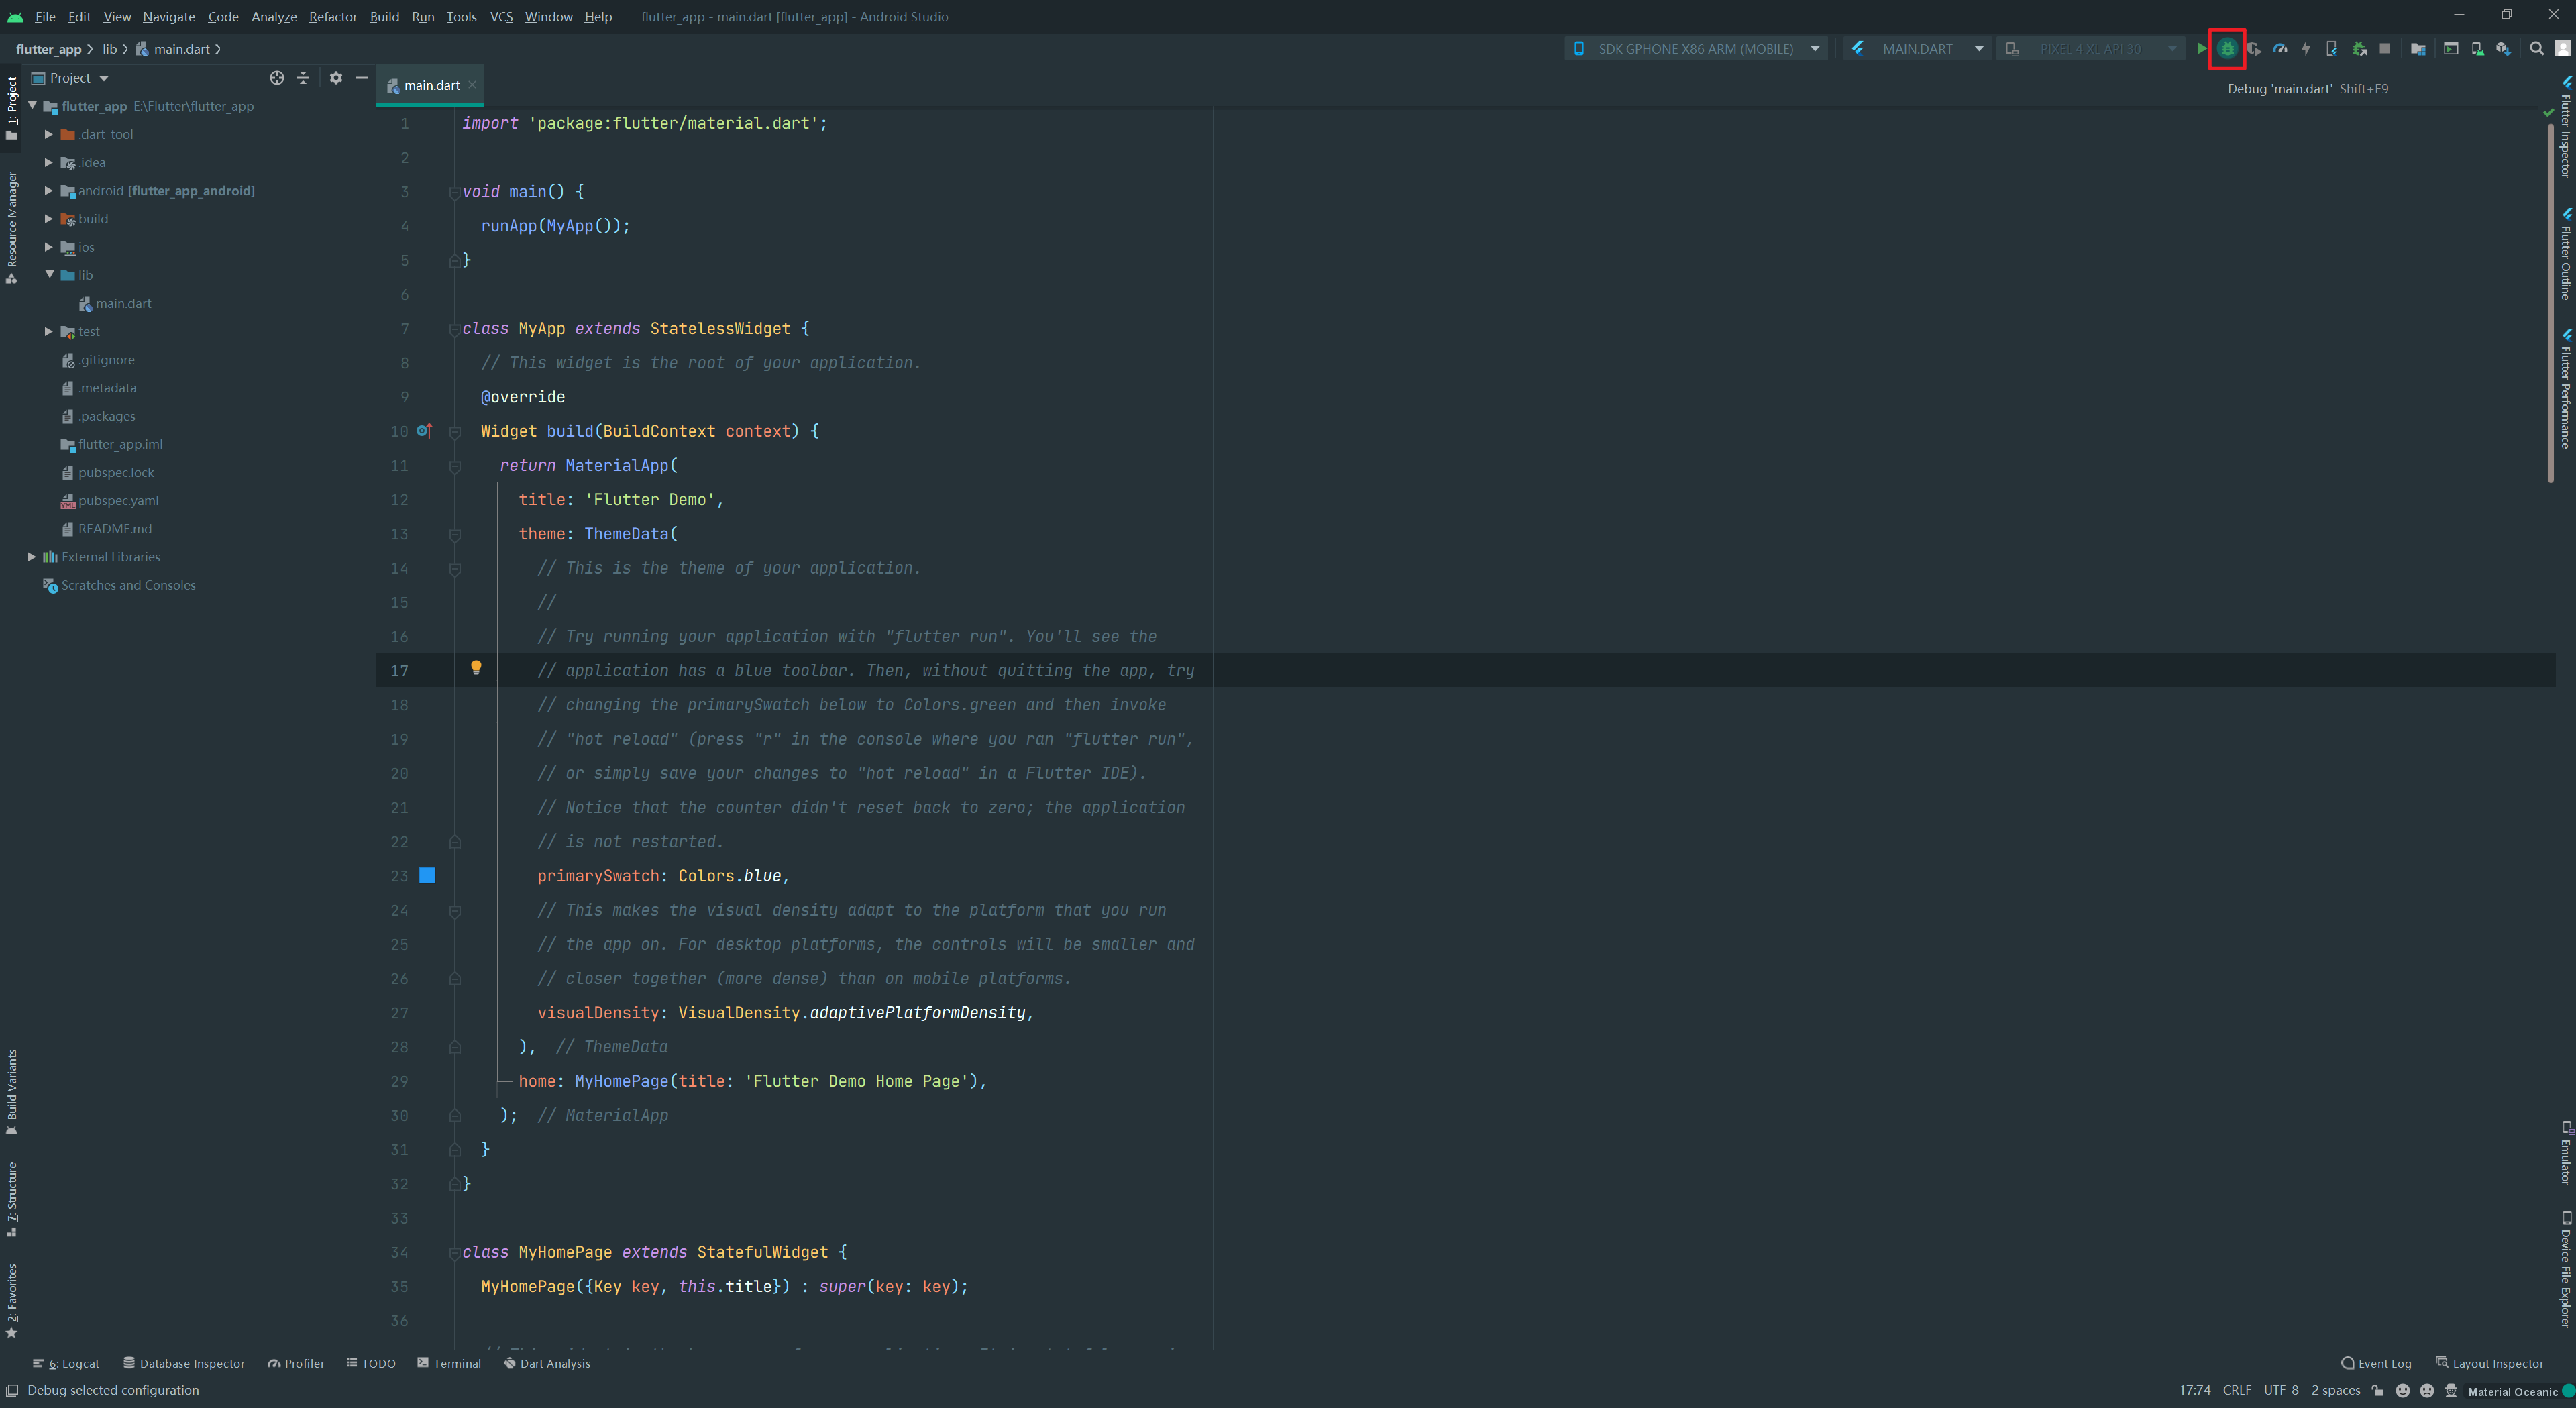
Click the Debug button to launch the project.
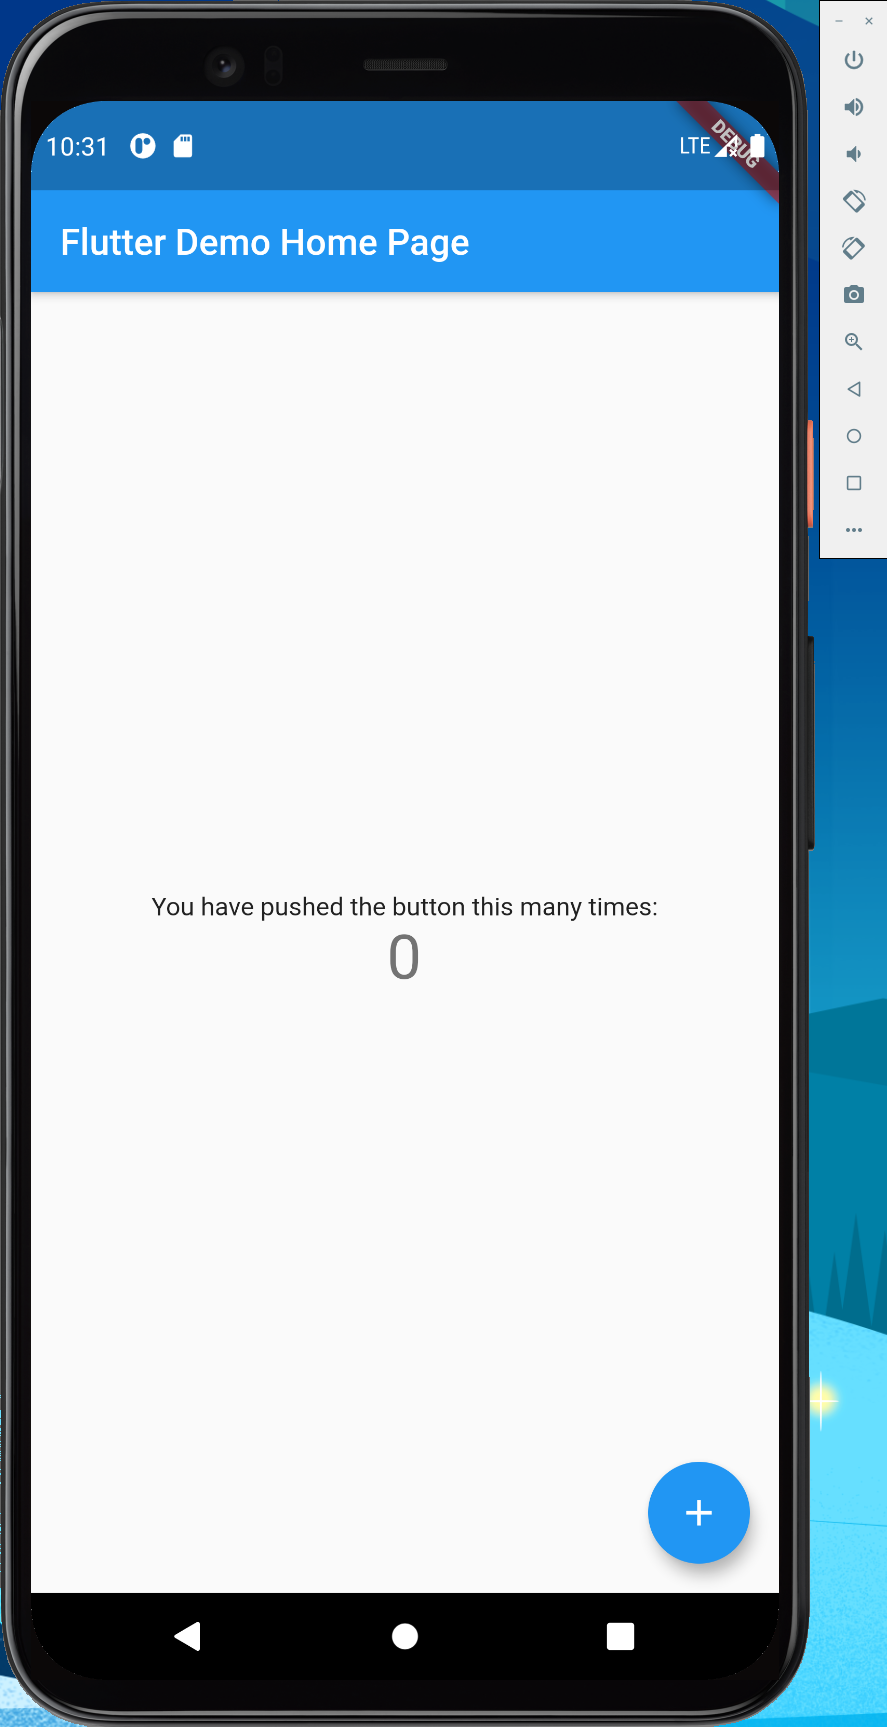
Check the emulator. If you see the following screen, 🎉 congratulations—the Flutter environment is up and running!